

Create an Assessment
Walk through the four-step assessment creation wizard — basic info, sections, questions, and review.
Create an Assessment
The assessment creation wizard has four steps. From Step 2 onward you can Save & Exit and return later to complete the remaining steps. (Step 1 must be completed first — clicking Next: Add Sections creates the assessment record, and only after that does the Save & Exit option appear.)
Before you start
- You need the Admin role. Authoring assessments, sections, and questions is Admin-only — GroupAdmins get read-only, group-scoped access and cannot create assessments.
- Plan your assessment structure before starting: how many sections, roughly how many questions per section, and the question types you will use.
Step 1 — Basic Information
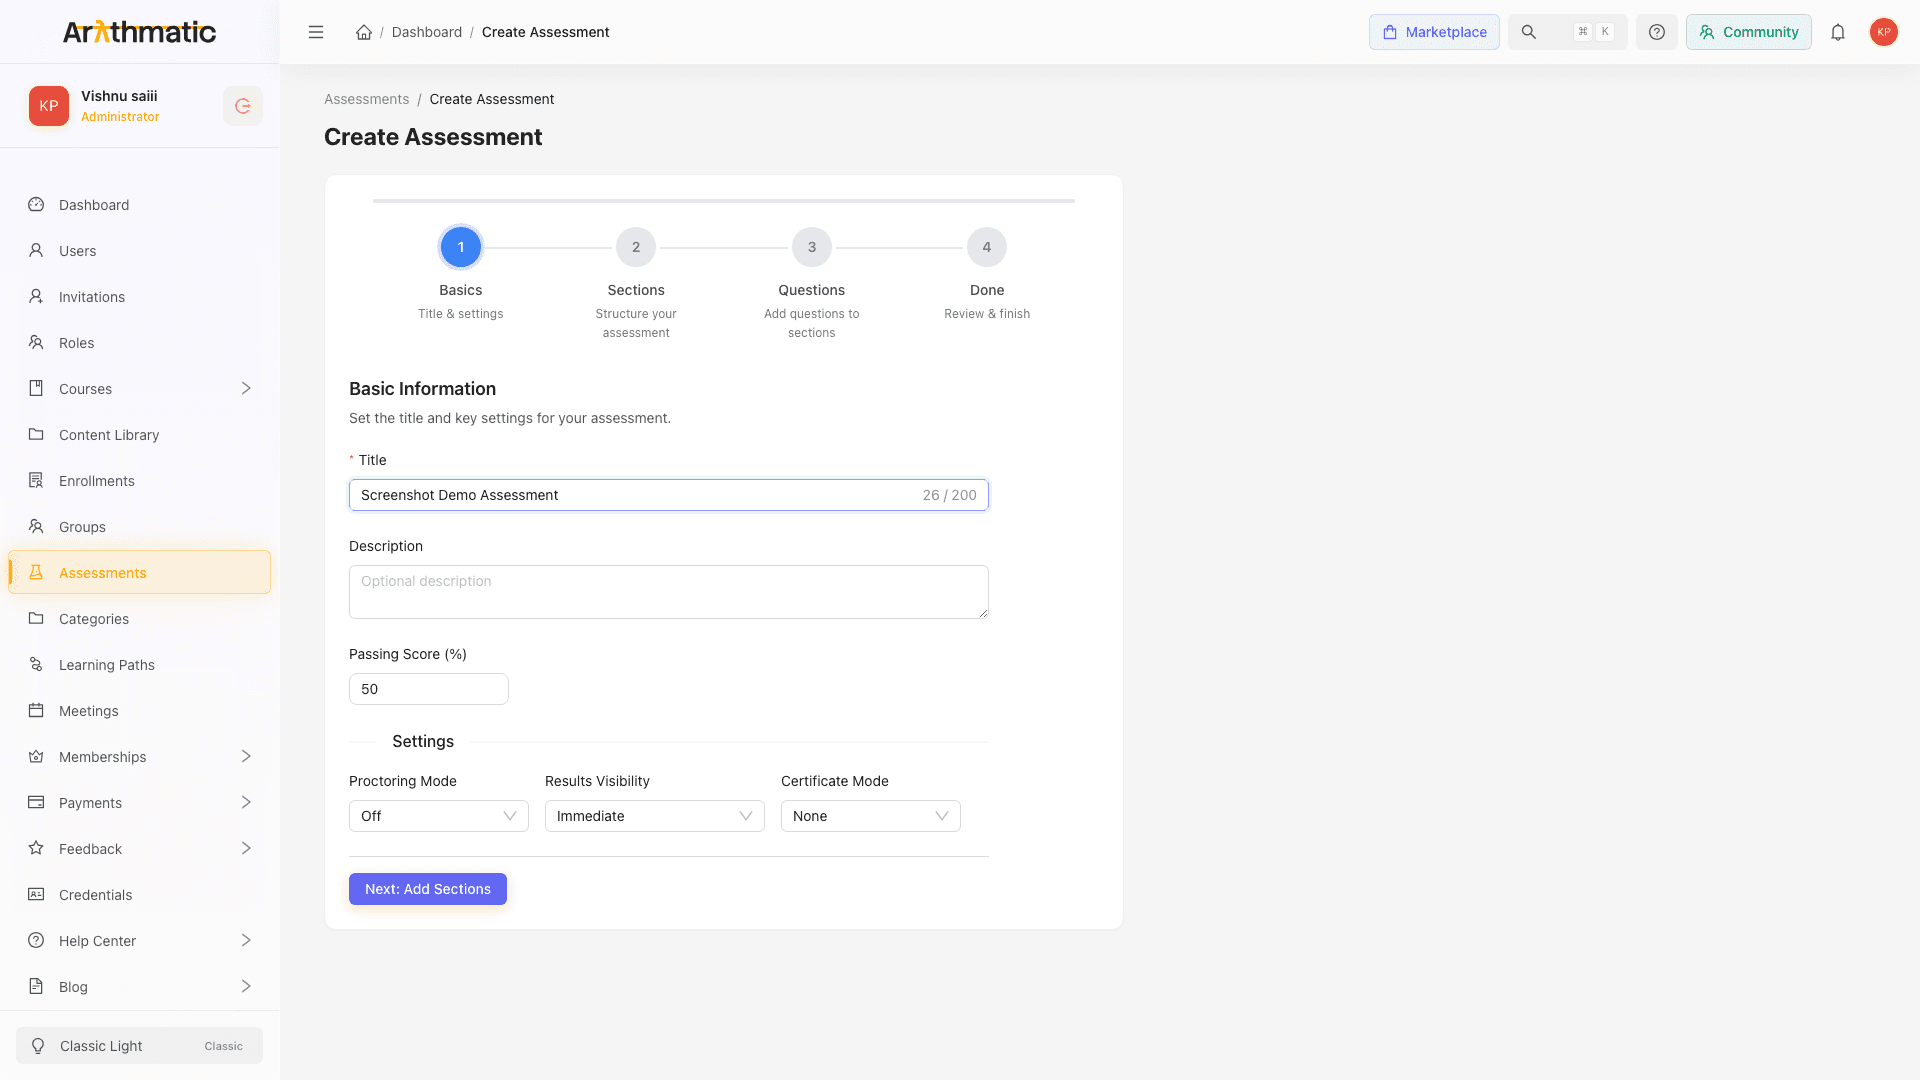
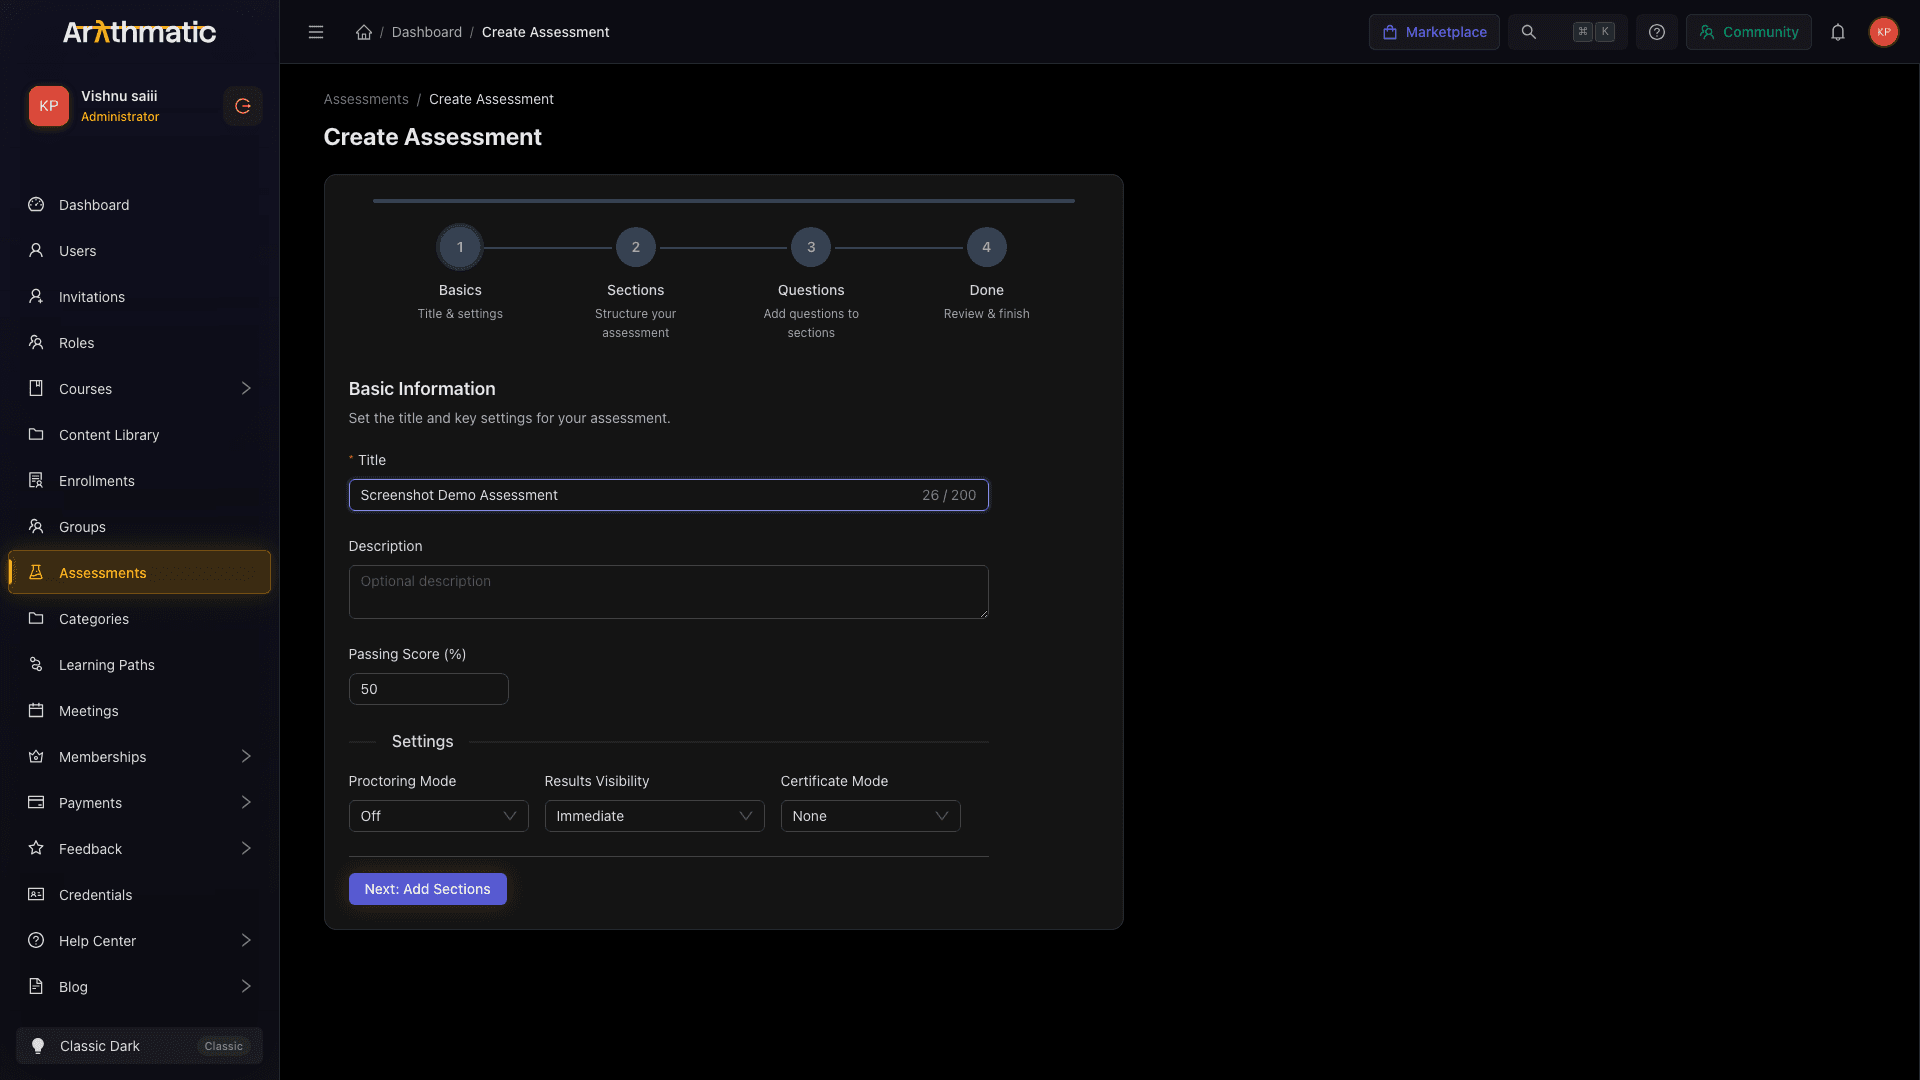
Click + New Assessment on the Assessments list page to open the wizard.
Fields
| Field | Required | Notes |
|---|---|---|
| Title | Yes | Up to 200 characters. Shown to learners on the assessment page. |
| Description | No | Optional context or instructions for learners. |
| Passing Score (%) | — | Percentage required to pass. Default: 50%. Range: 0–100. |
| Proctoring Mode | — | Off (default) or Soft (logs tab switches and suspicious activity). |
| Results Visibility | — | When learners see their score: Immediate, After window closes, or After admin release. |
| Certificate Mode | — | None (default), Auto on pass (issued automatically when the learner passes), or Manual (you issue it manually). |
Proctoring modes explained
| Mode | What it does |
|---|---|
| Off | No restrictions or monitoring. |
| Soft | Logs focus loss (tab switches, window minimise) and timestamps them in the attempt review. Does not block the attempt. |
Results visibility explained
| Option | When the learner sees the score |
|---|---|
| Immediate | Score appears as soon as the learner submits. |
| After window closes | Score is hidden until the attempt window end time. Useful for preventing early-finishers from sharing answers. |
| After admin release | Score is hidden until you manually release grades (see Reviewing Attempts). Best for high-stakes exams. |
Click Next: Add Sections when done.
Step 2 — Add Sections
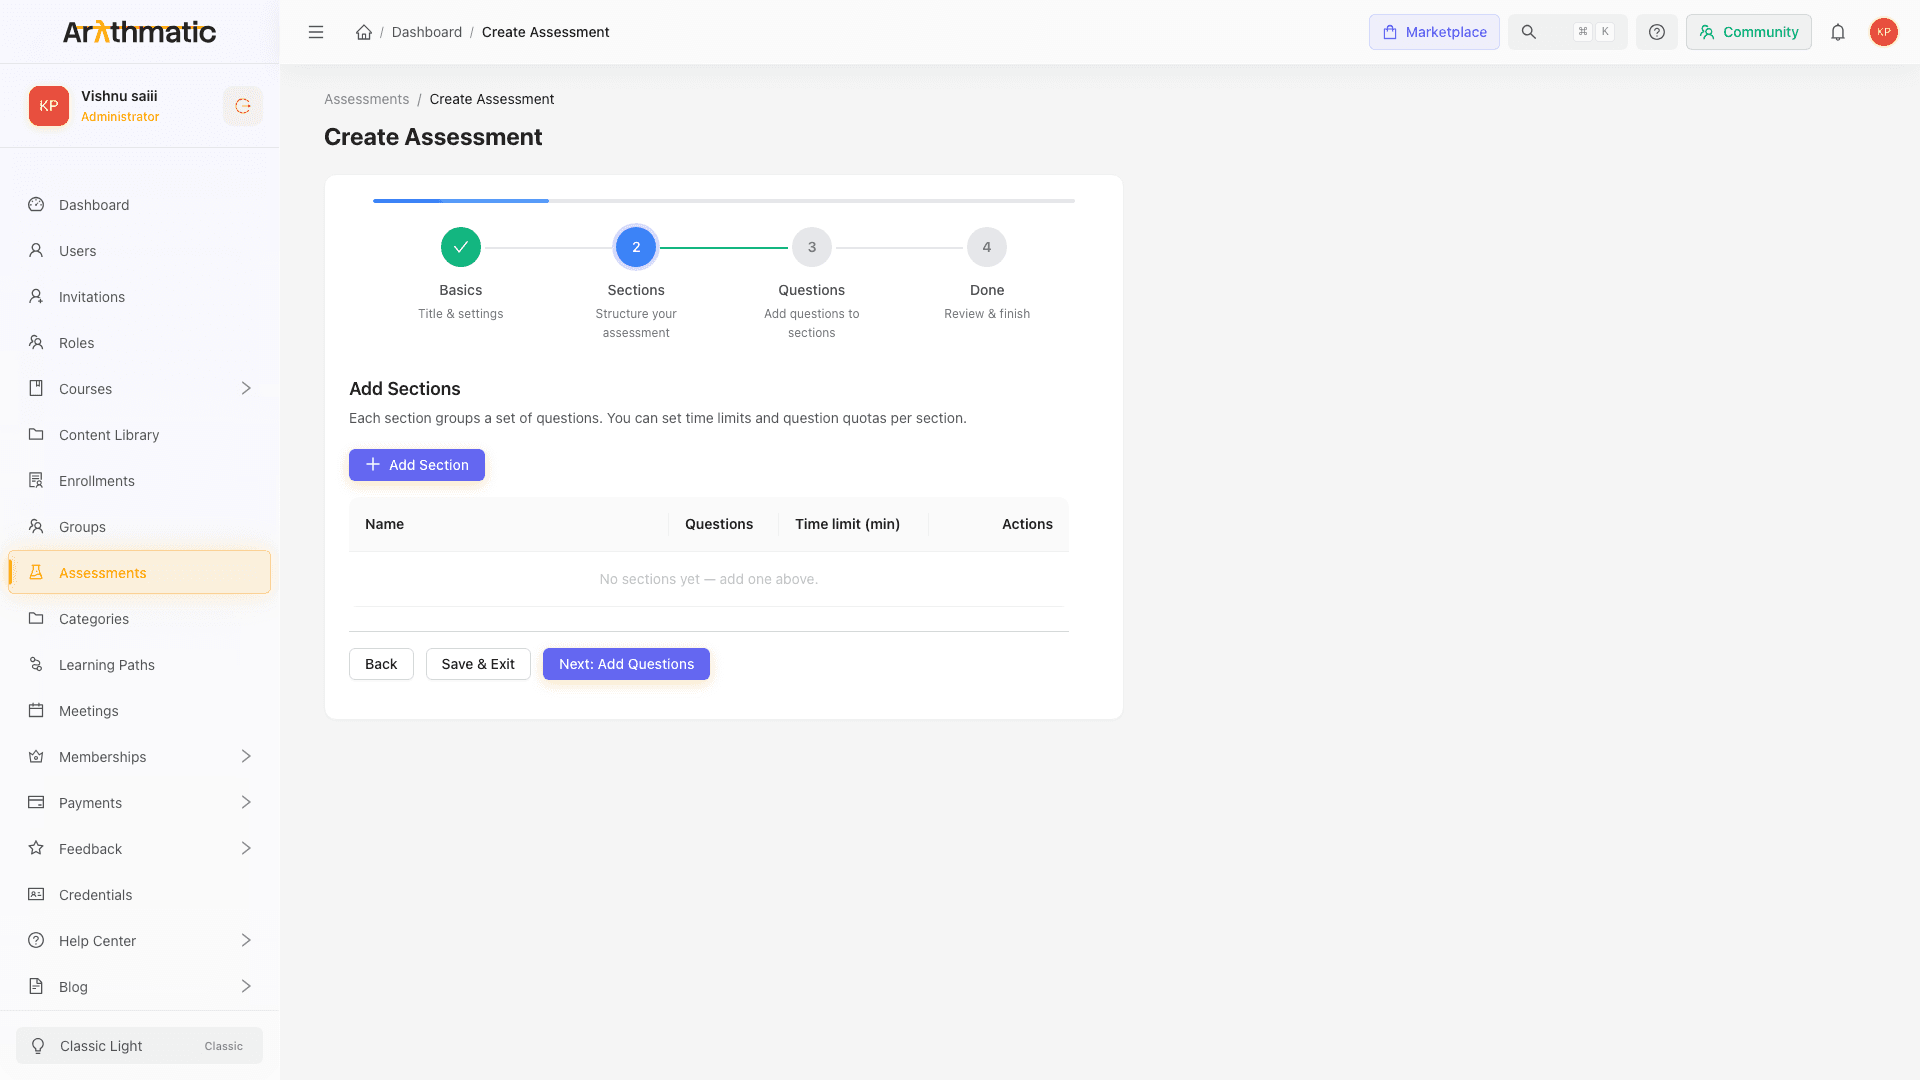
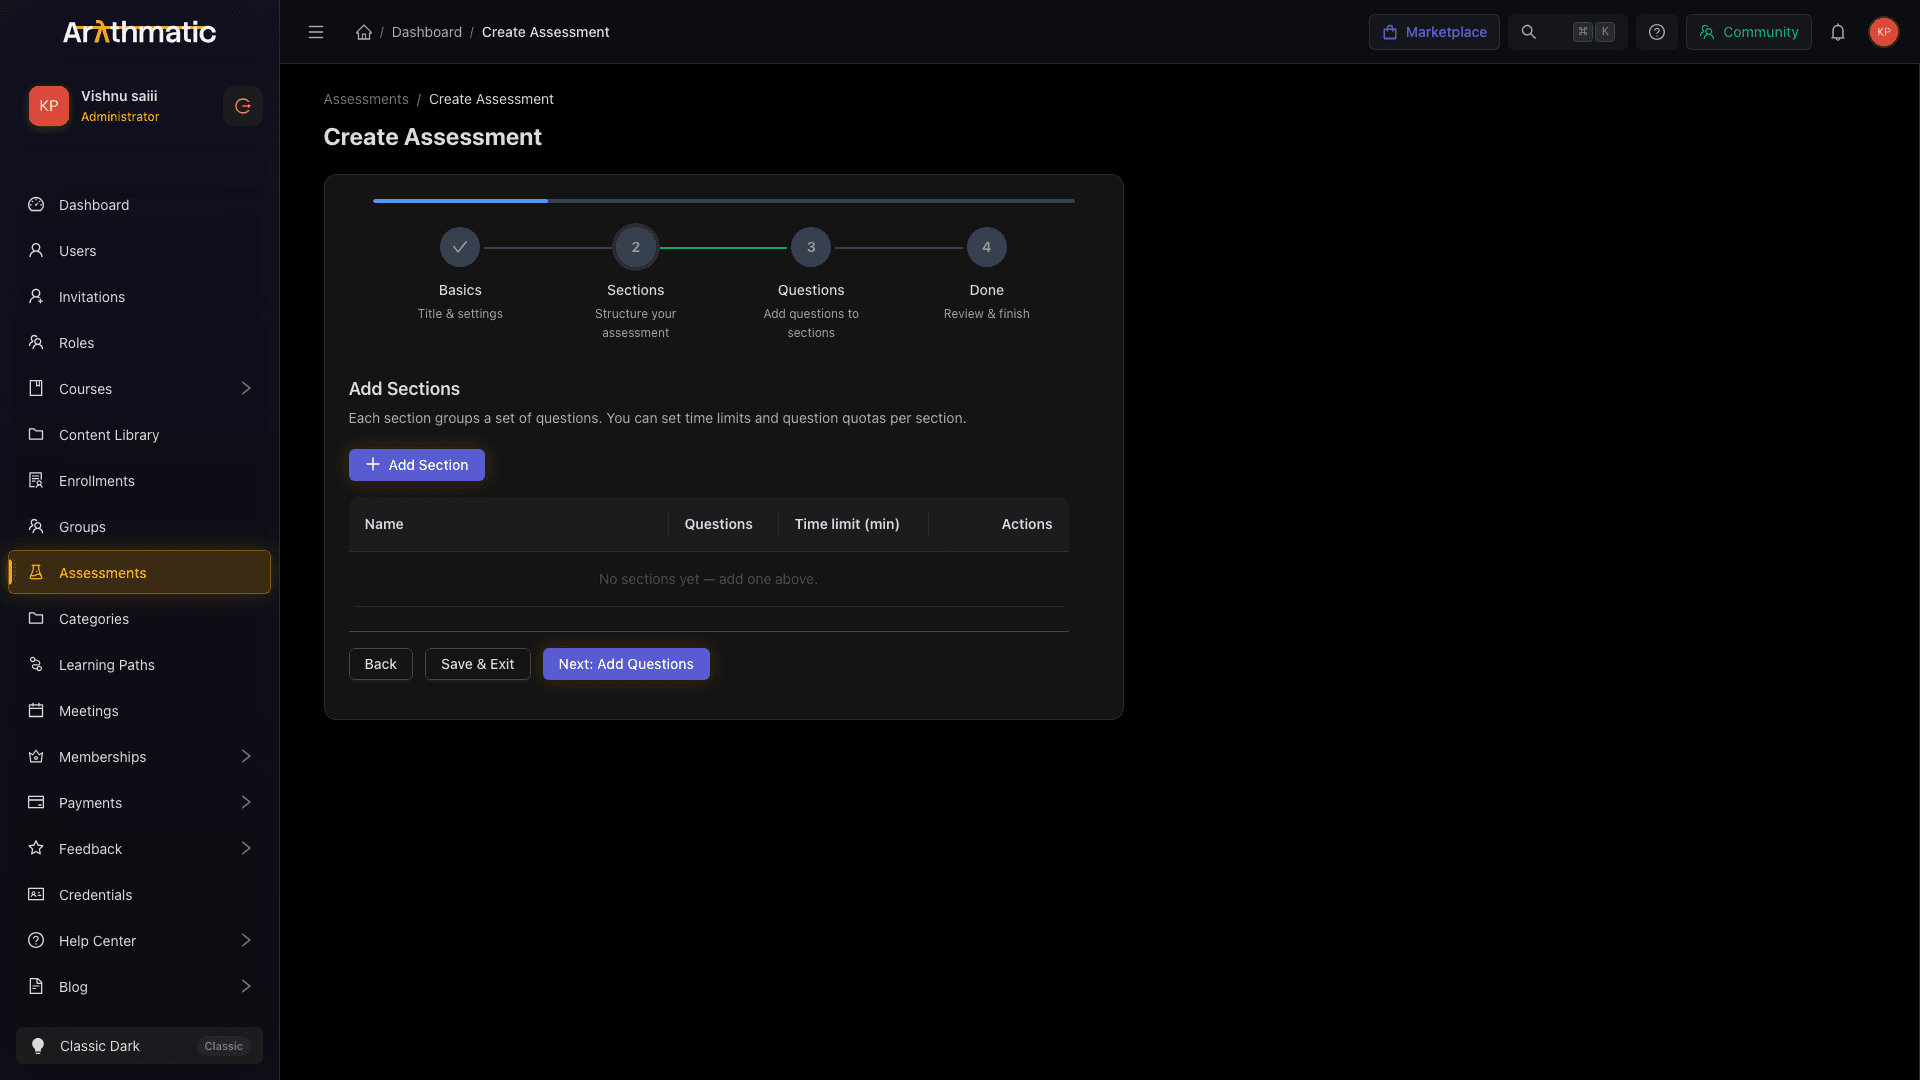
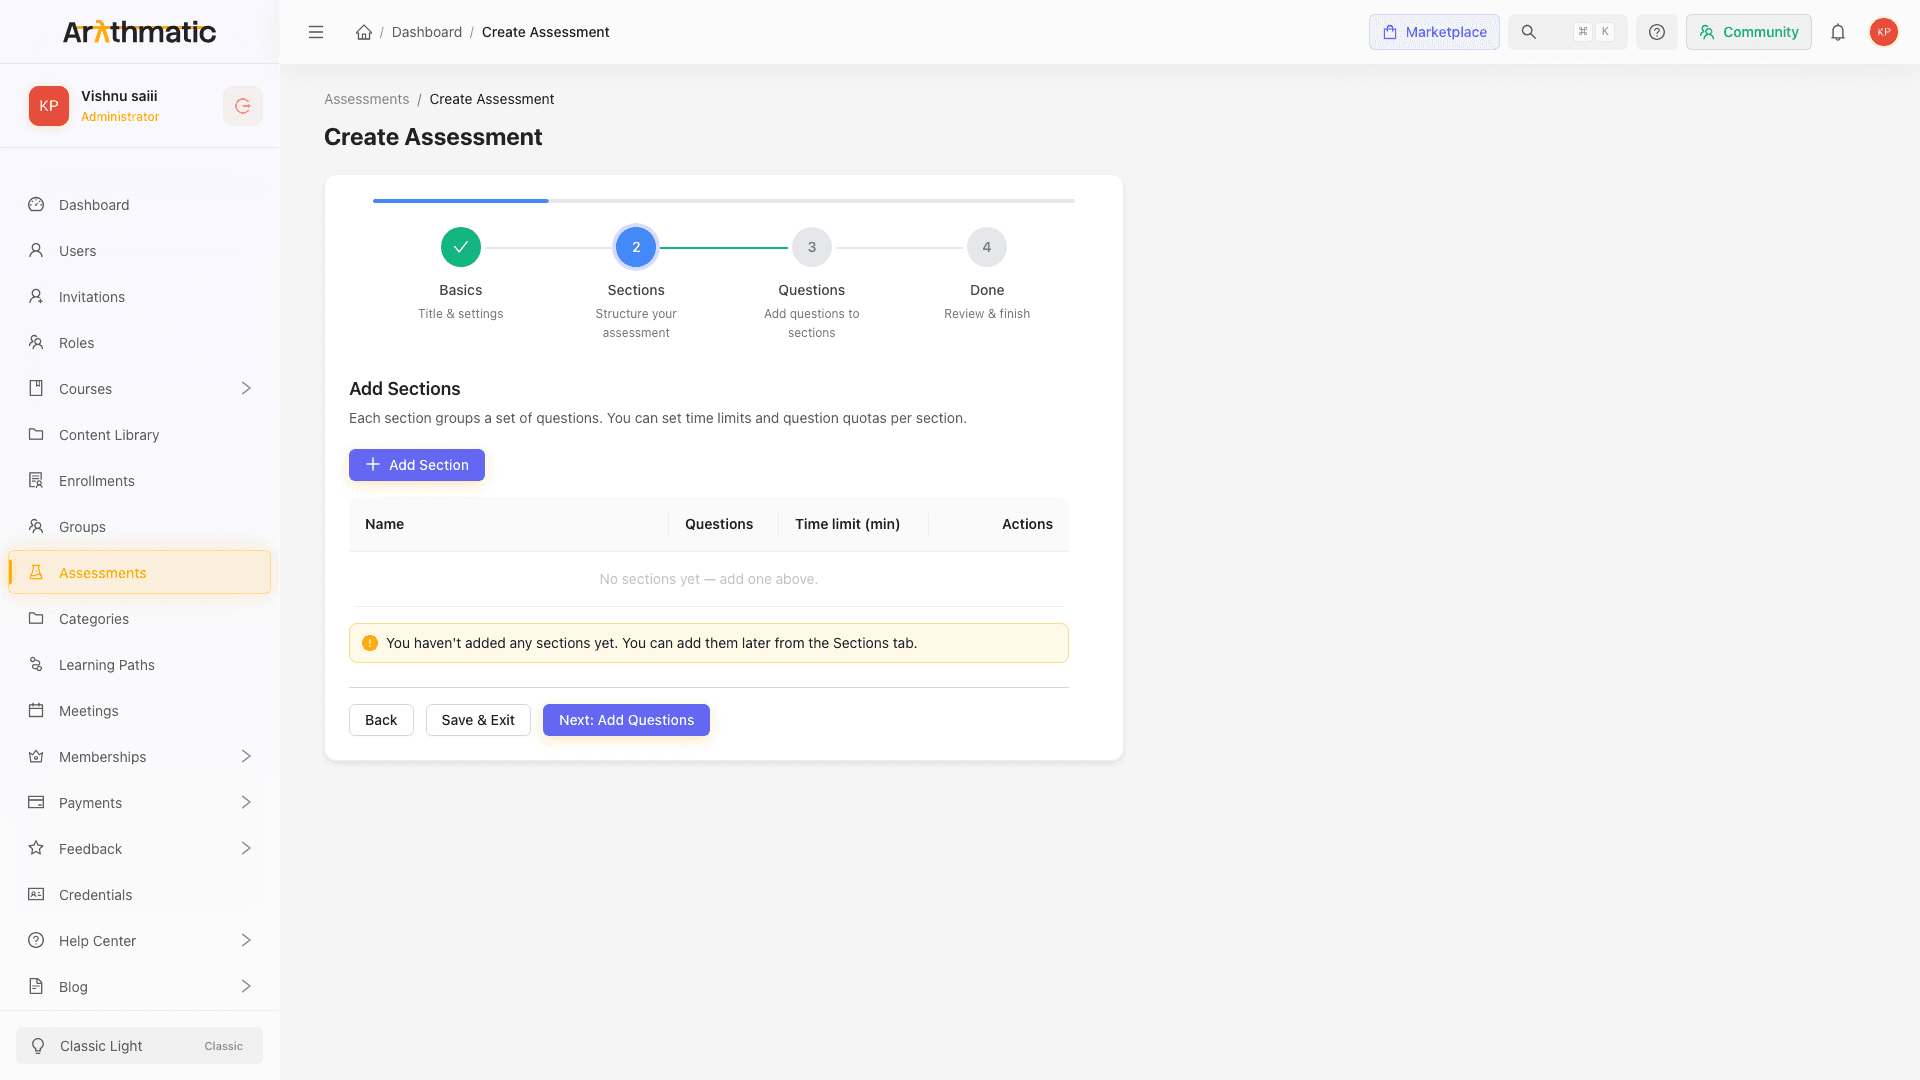
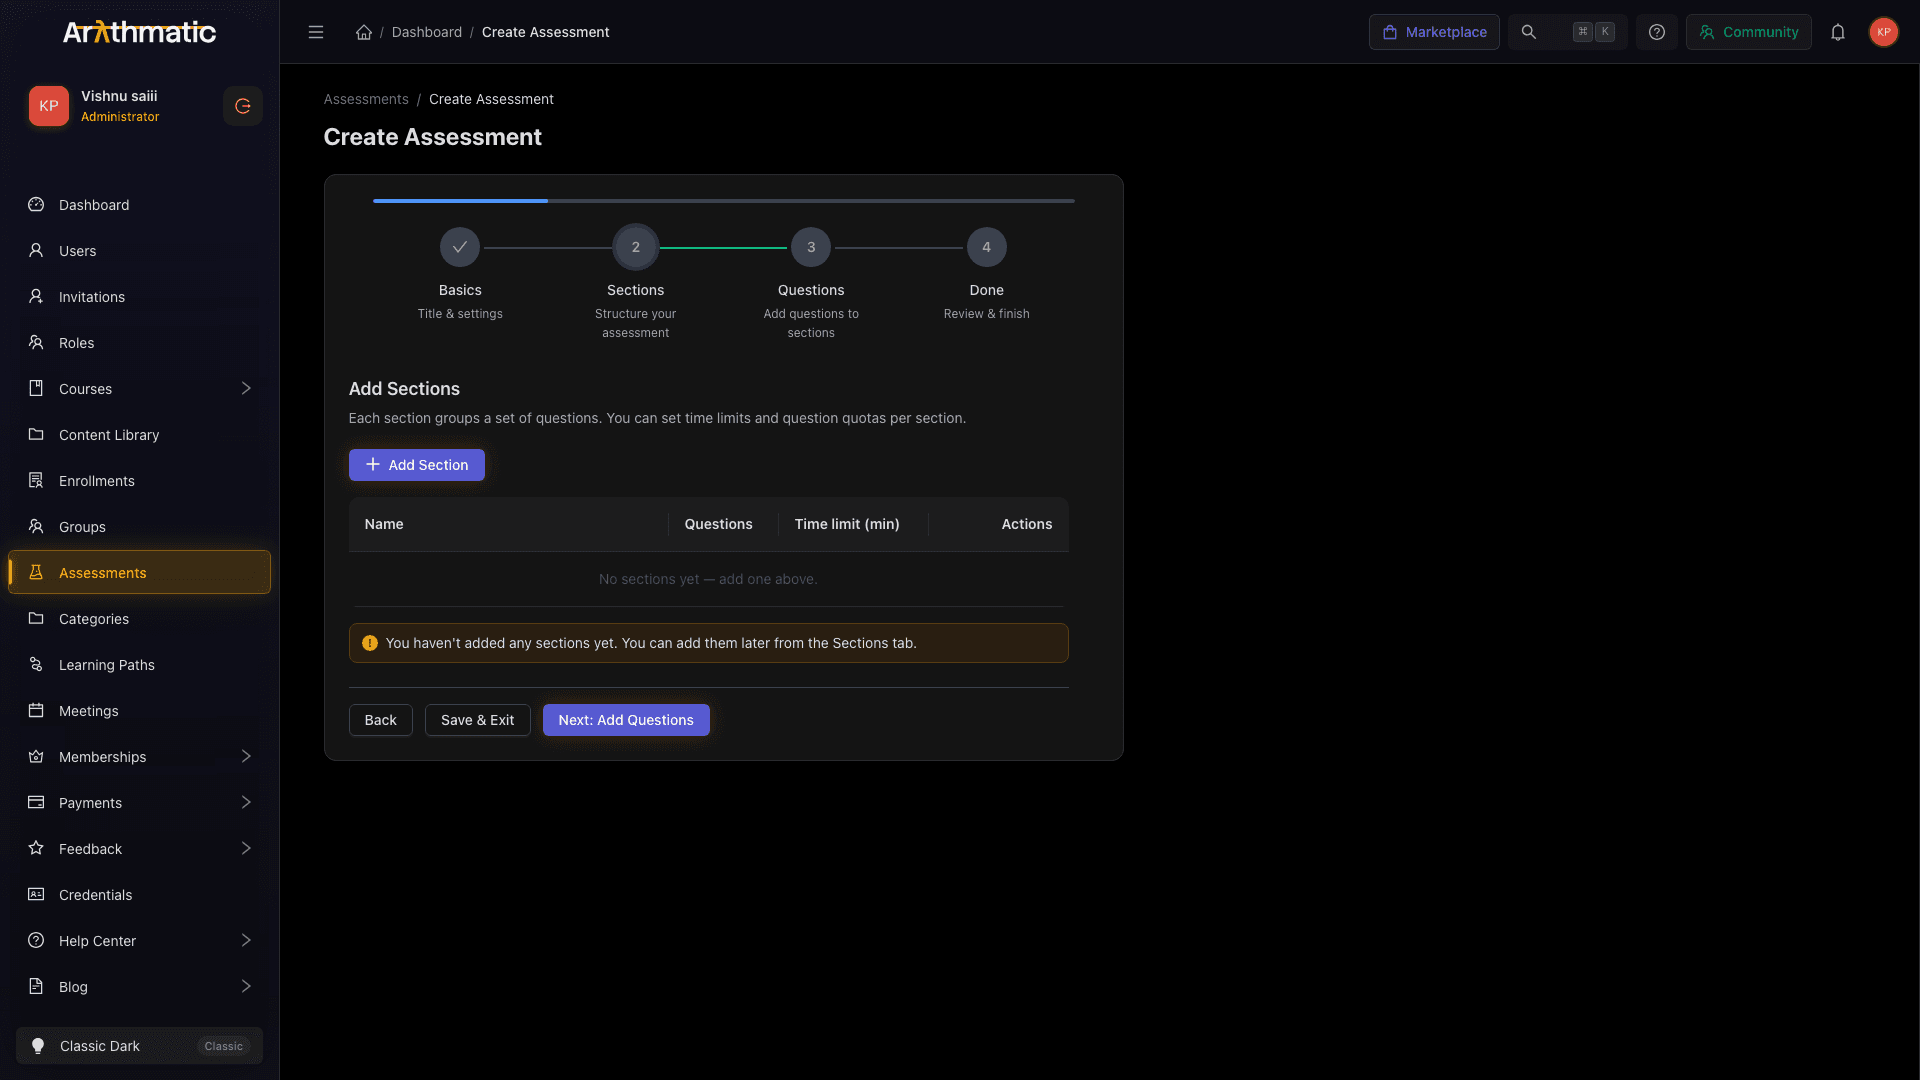
Sections group questions into distinct parts (e.g. "Verbal Reasoning", "Quantitative", "Technical Skills"). Each section can have its own time limit and question count.
Adding a section
- Click + Add Section.
- Fill in the section form:
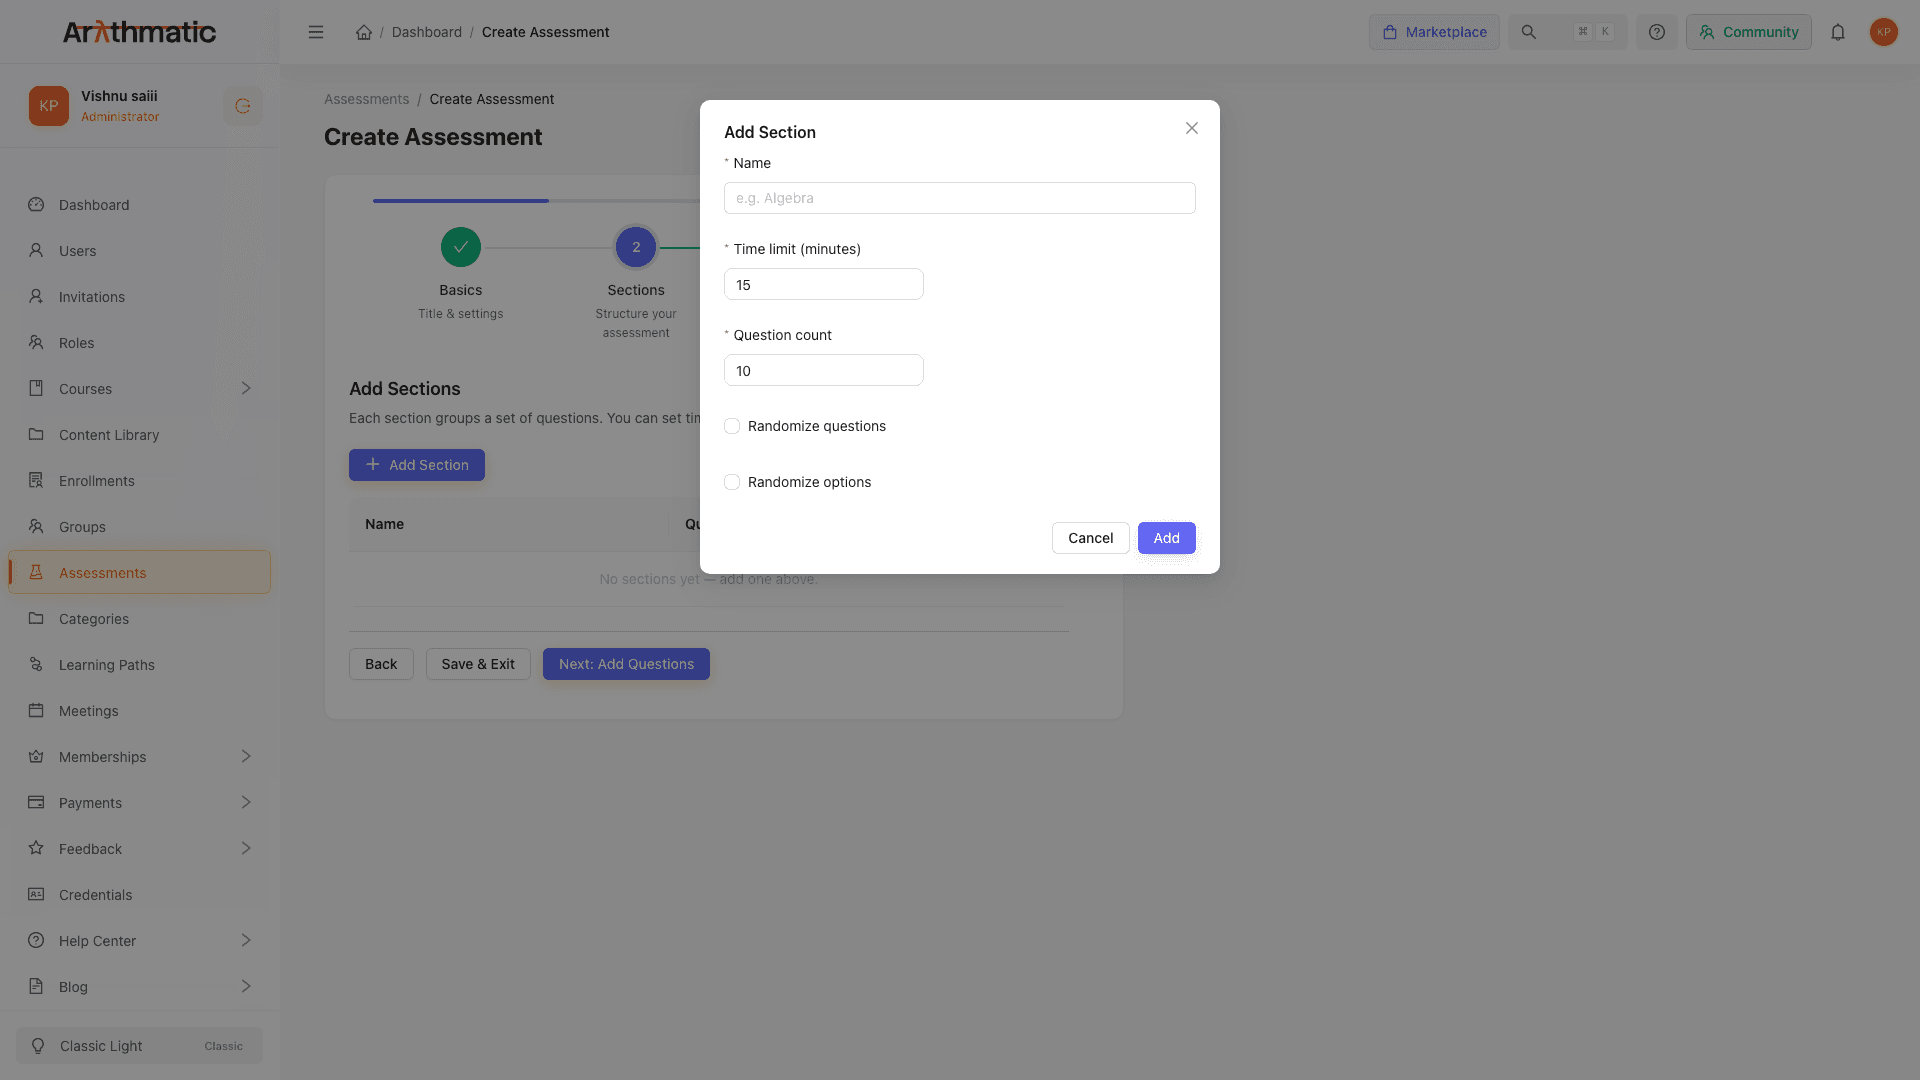
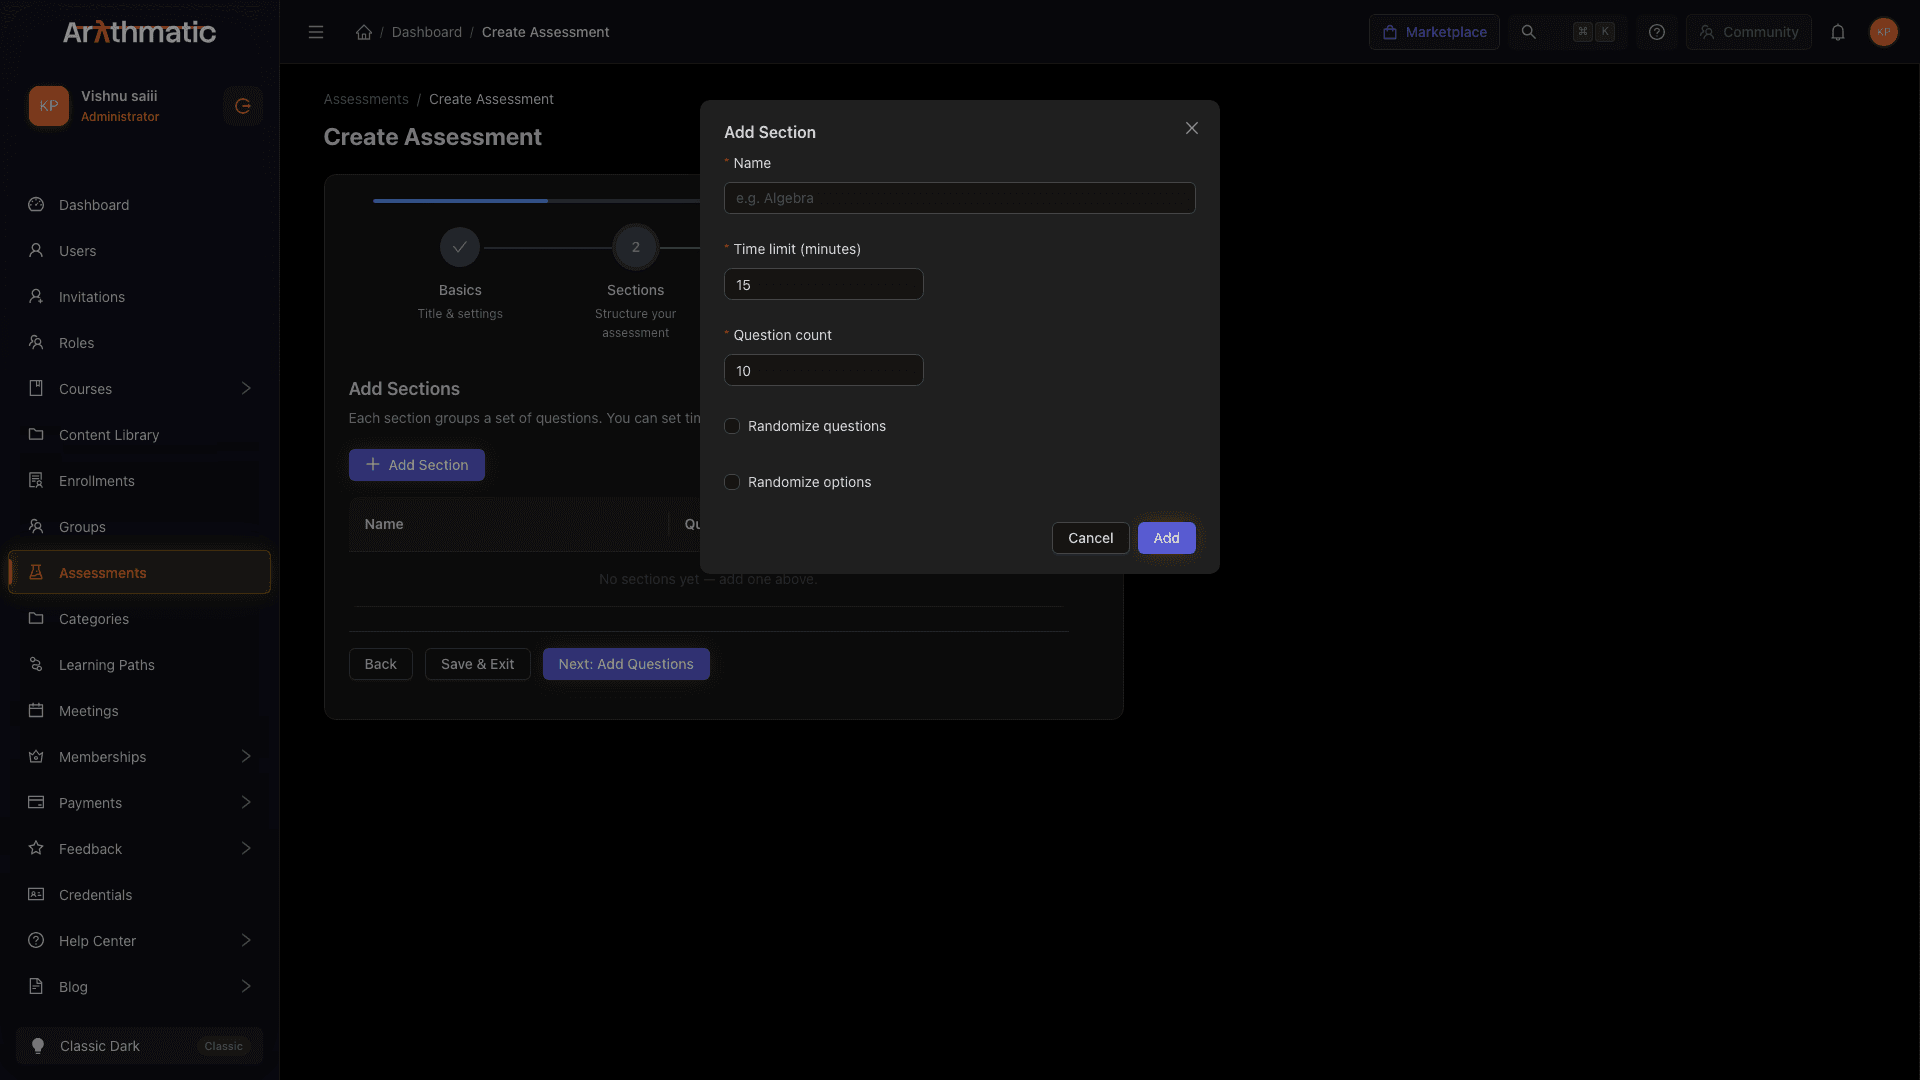
| Field | Notes |
|---|---|
| Name | e.g. "Section 1 — Algebra". Required. |
| Time limit (minutes) | Default: 15. Set to 0 for no time limit for this section. Each section runs its own independent countdown that starts the first time the learner opens that section — see the delivery note below. |
| Question count | How many questions to serve each learner from this section. If the section holds more questions than this count, it acts as a question bank and each learner gets a different random subset — see the callout below. |
| Randomise questions | If on, the question order is randomised per attempt. |
| Randomise options | If on, the answer option order is randomised per attempt (applies to MCQ types). |
Question count is a draw size, not a fixed quota. At attempt start, Arythmatic loads all active questions in the section and serves each learner only the first Question count of them (shuffled first when Randomise questions is on). Load a large bank — say 50 questions with a count of 10 — and every learner sits a different random 10 drawn from that pool. Scoring, results, and explanations only ever consider the questions that learner was actually served. This is the core anti-cheating lever for certification and entrance exams.
Sections are delivered one at a time, in order, and submitting a section is final — the learner cannot return to a completed section, and each section's timer runs separately. Structure your sections with that sequential, no-going-back flow in mind. See Assessments — Overview for the full delivery model.
- Click Add to save the section.
Repeat for each section you need. You can edit or delete sections from the table.
Advancing without sections
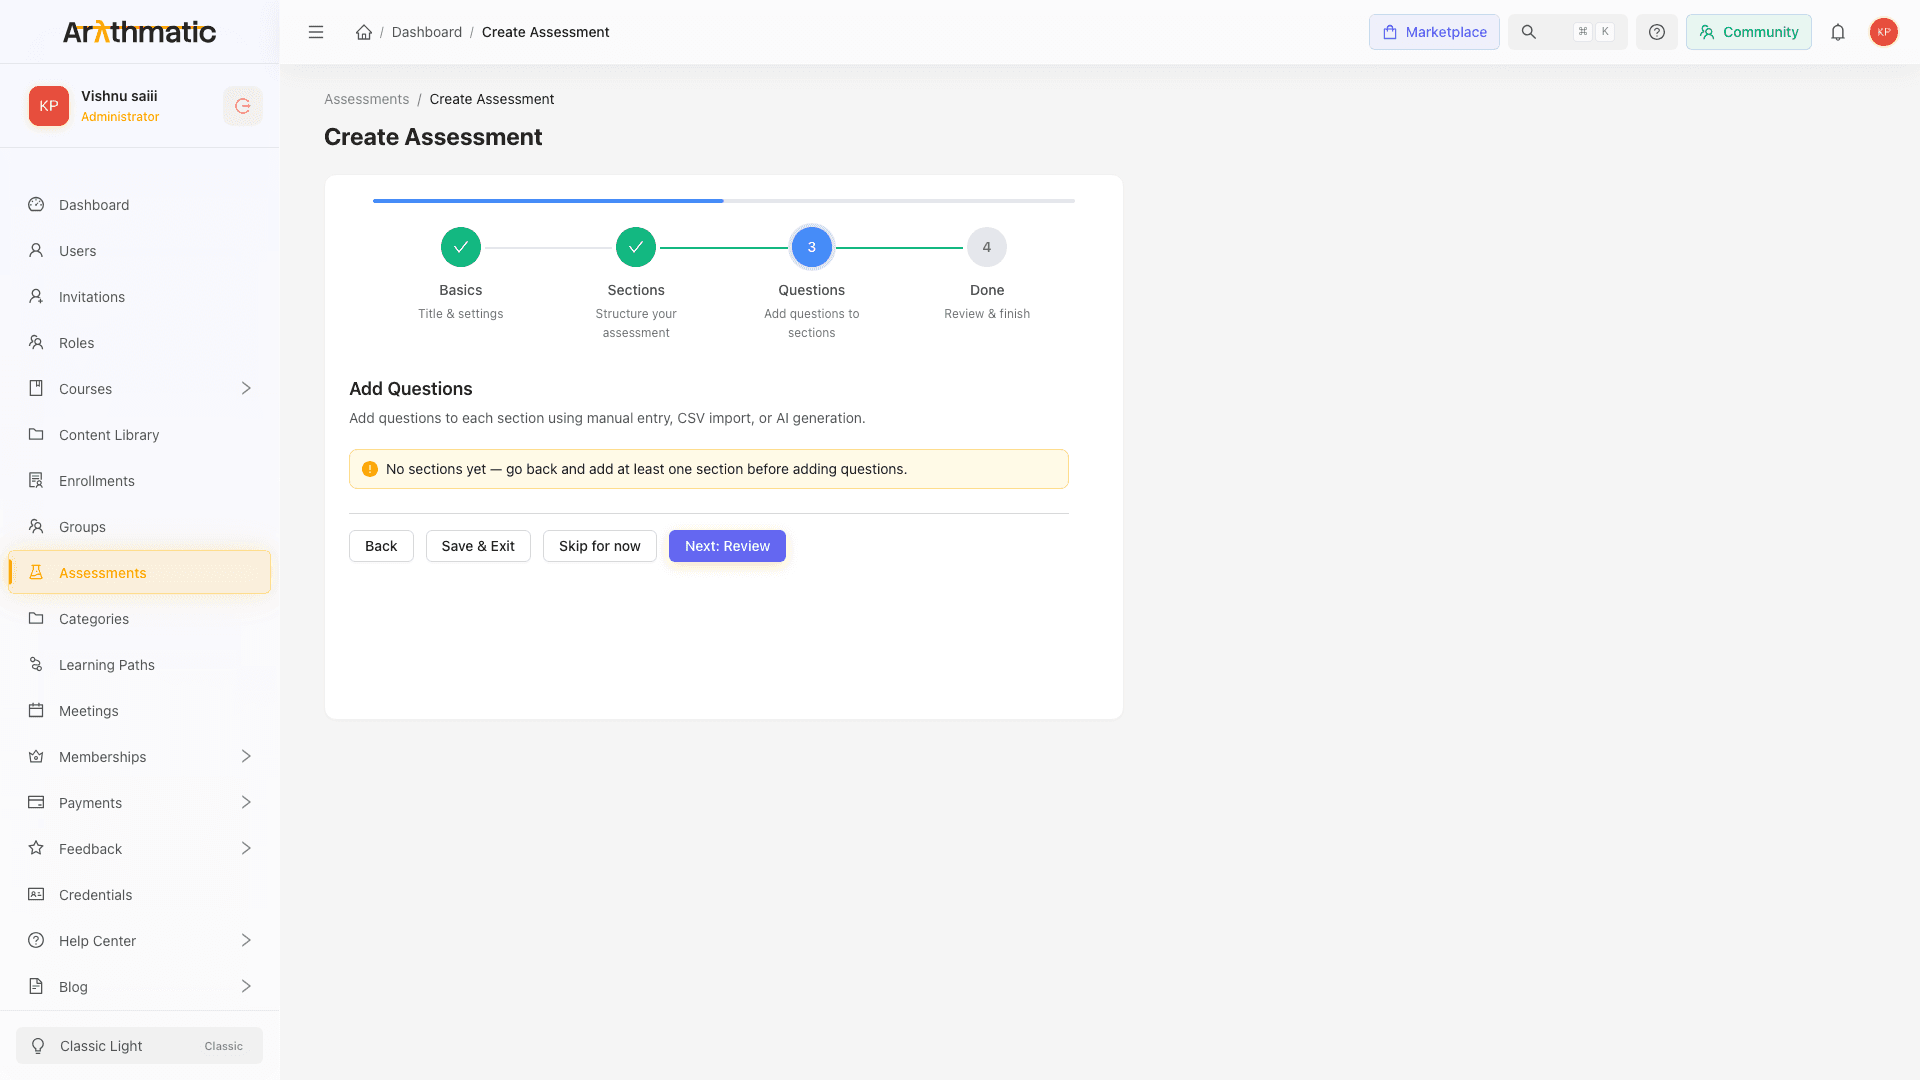
You can click Next: Add Questions with no sections. You will see a warning. You can add sections later from the Sections tab on the assessment detail page.
Buttons at the bottom
| Button | What it does |
|---|---|
| Back | Return to Step 1 |
| Save & Exit | Save progress and go to the assessment detail page |
| Next: Add Questions | Proceed to Step 3 |
Step 3 — Add Questions
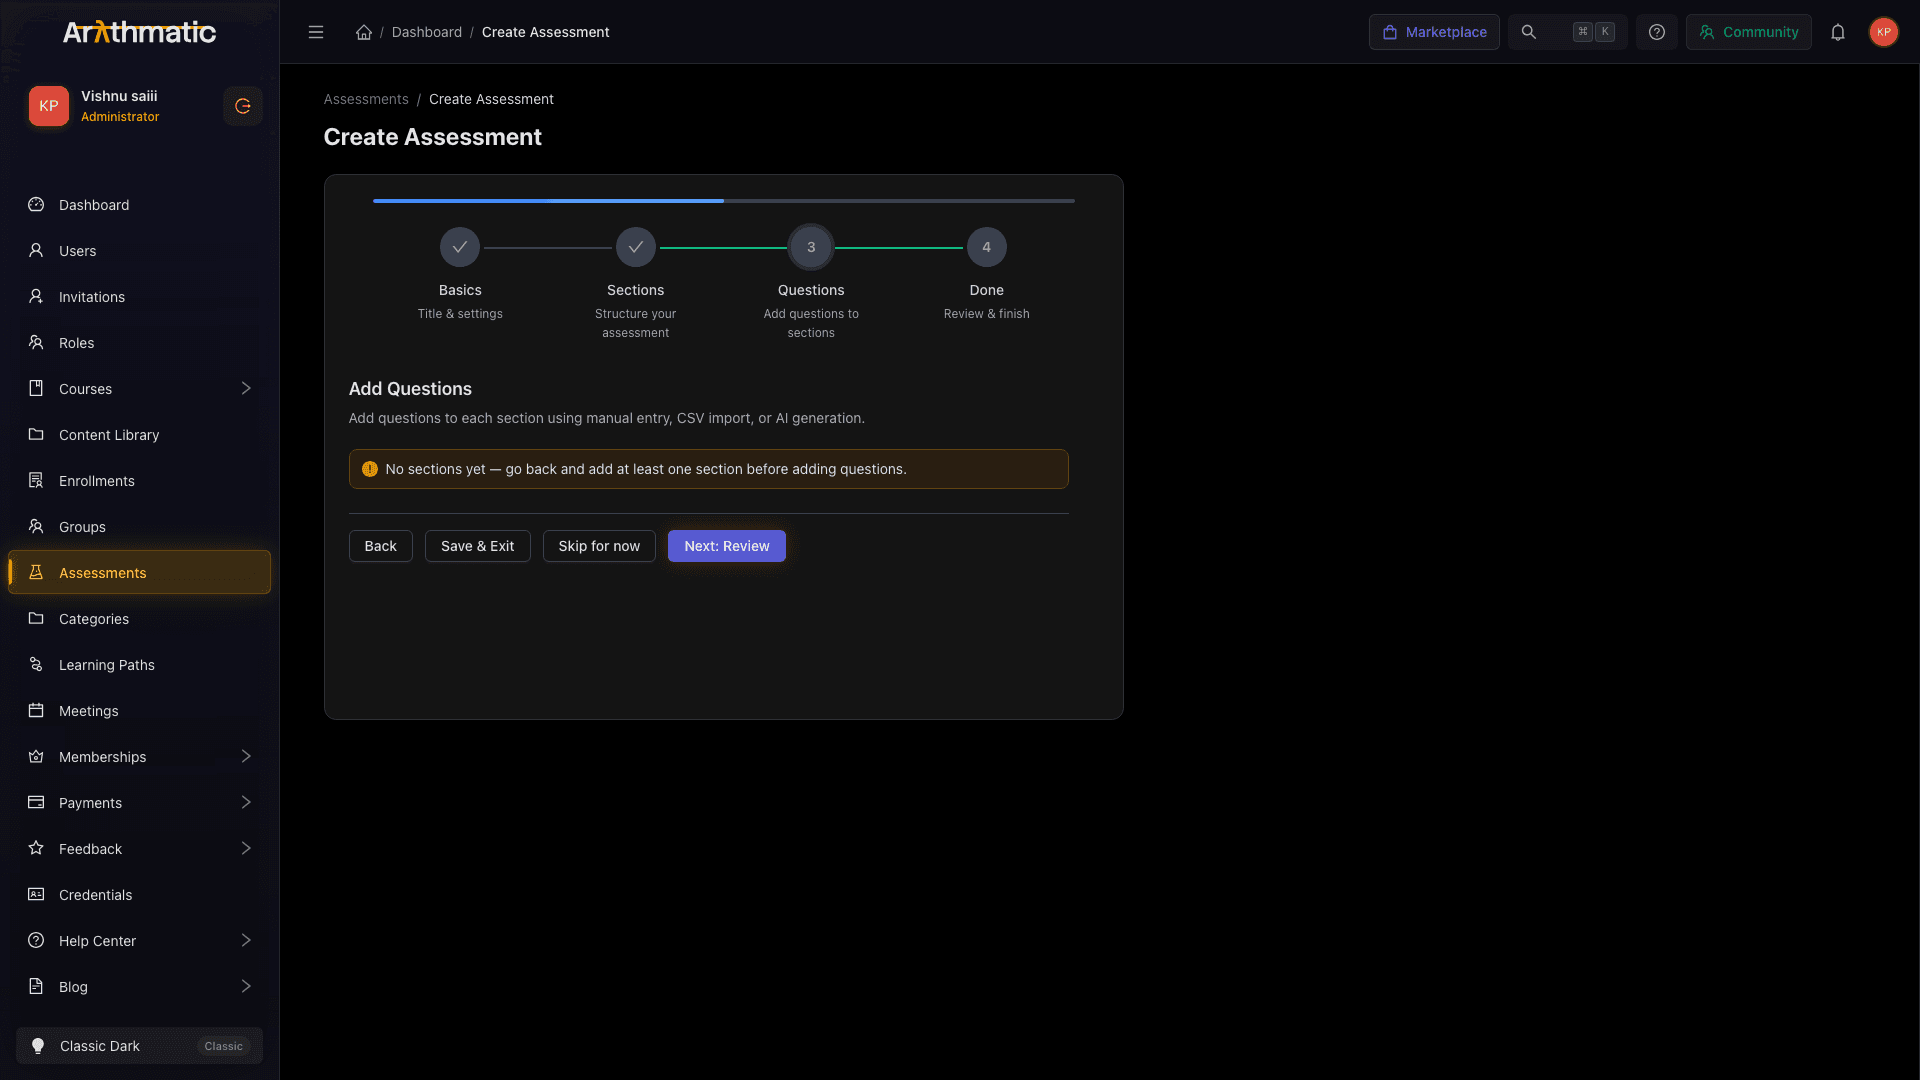
Questions belong to sections. Select a section from the dropdown, then add questions to it.
Quota banner
A banner below the section selector shows how many questions have been added vs. the section's required count:
- 5 of 10 required questions — add 5 more — need more questions
- quota met ✓ — section is complete
- remove 2 questions — you've added more than the required count
The banner treats the count as a fixed quota, but adding more questions than the count is a deliberate, supported pattern: the extras become a question bank that each learner draws a random subset from (see the question-count callout in Step 2). The "remove N questions" prompt is only a nudge — you can safely ignore it when you intend to build a bank.
Adding questions
Three methods are available:
Add Question (manual)
Click + Add Question to open the Question Form. Choose a question type, enter the question text and answer options, and save.
CSV Import
Click CSV Import to bulk-upload questions from a spreadsheet. The modal lists the required column headers; prepare a CSV to match and upload it. Questions are imported immediately, and a result summary reports any per-row errors.
AI Generate
Click AI Generate to have the AI create questions from a topic (defaults to the section name), a number of questions (1–20), and a difficulty. The generated questions are added directly to the selected section — there is no review-before-save step.
Skipping questions
Click Skip for now to proceed to Step 4 (Review) without adding questions. You can add questions later from the Questions tab on the assessment detail page.
Step 3 buttons
| Button | What it does |
|---|---|
| Back | Return to Step 2 |
| Save & Exit | Save and go to the detail page |
| Skip for now | Go to Step 4 without adding questions |
| Next: Review | Proceed to Step 4 |
Step 4 — Review
The final step shows a summary of what you set up:
- Title, passing score, proctoring mode, results visibility, certificate mode
- Number of sections added
- Number of questions added
If sections or questions are missing, yellow warning alerts appear with links to add them from the detail page.
Click Go to Assessment → to open the full assessment detail page where you can continue editing, assign the assessment to learners, and review attempts.
After creation
Your assessment is now saved. The next steps are:
- Add more questions from the Questions tab (if you skipped that step)
- Assign the assessment to learners or groups from the Assignments tab
- Review attempts and release grades from the Attempts tab
See Assessment Settings for advanced configuration, and Reviewing Attempts for the grading workflow.
Related
- Question Types — all seven types with field descriptions
- Assessment Settings — max attempts, cool-down, negative marking
- Reviewing Attempts — grade and release results
Assessments — Overview
Understand standalone Assessments in Arythmatic — how they differ from course quizzes, what they support, and when to use each.
Question Types
All seven question types available in Arythmatic Assessments — MCQ single, MCQ multi, True/False, Short Answer, Long Answer, Fill in the Blank, and Matching.
