

Curriculum Builder
Add sections and lessons to your course, reorder them by dragging, and shape the full learning journey from one screen.
Curriculum Builder
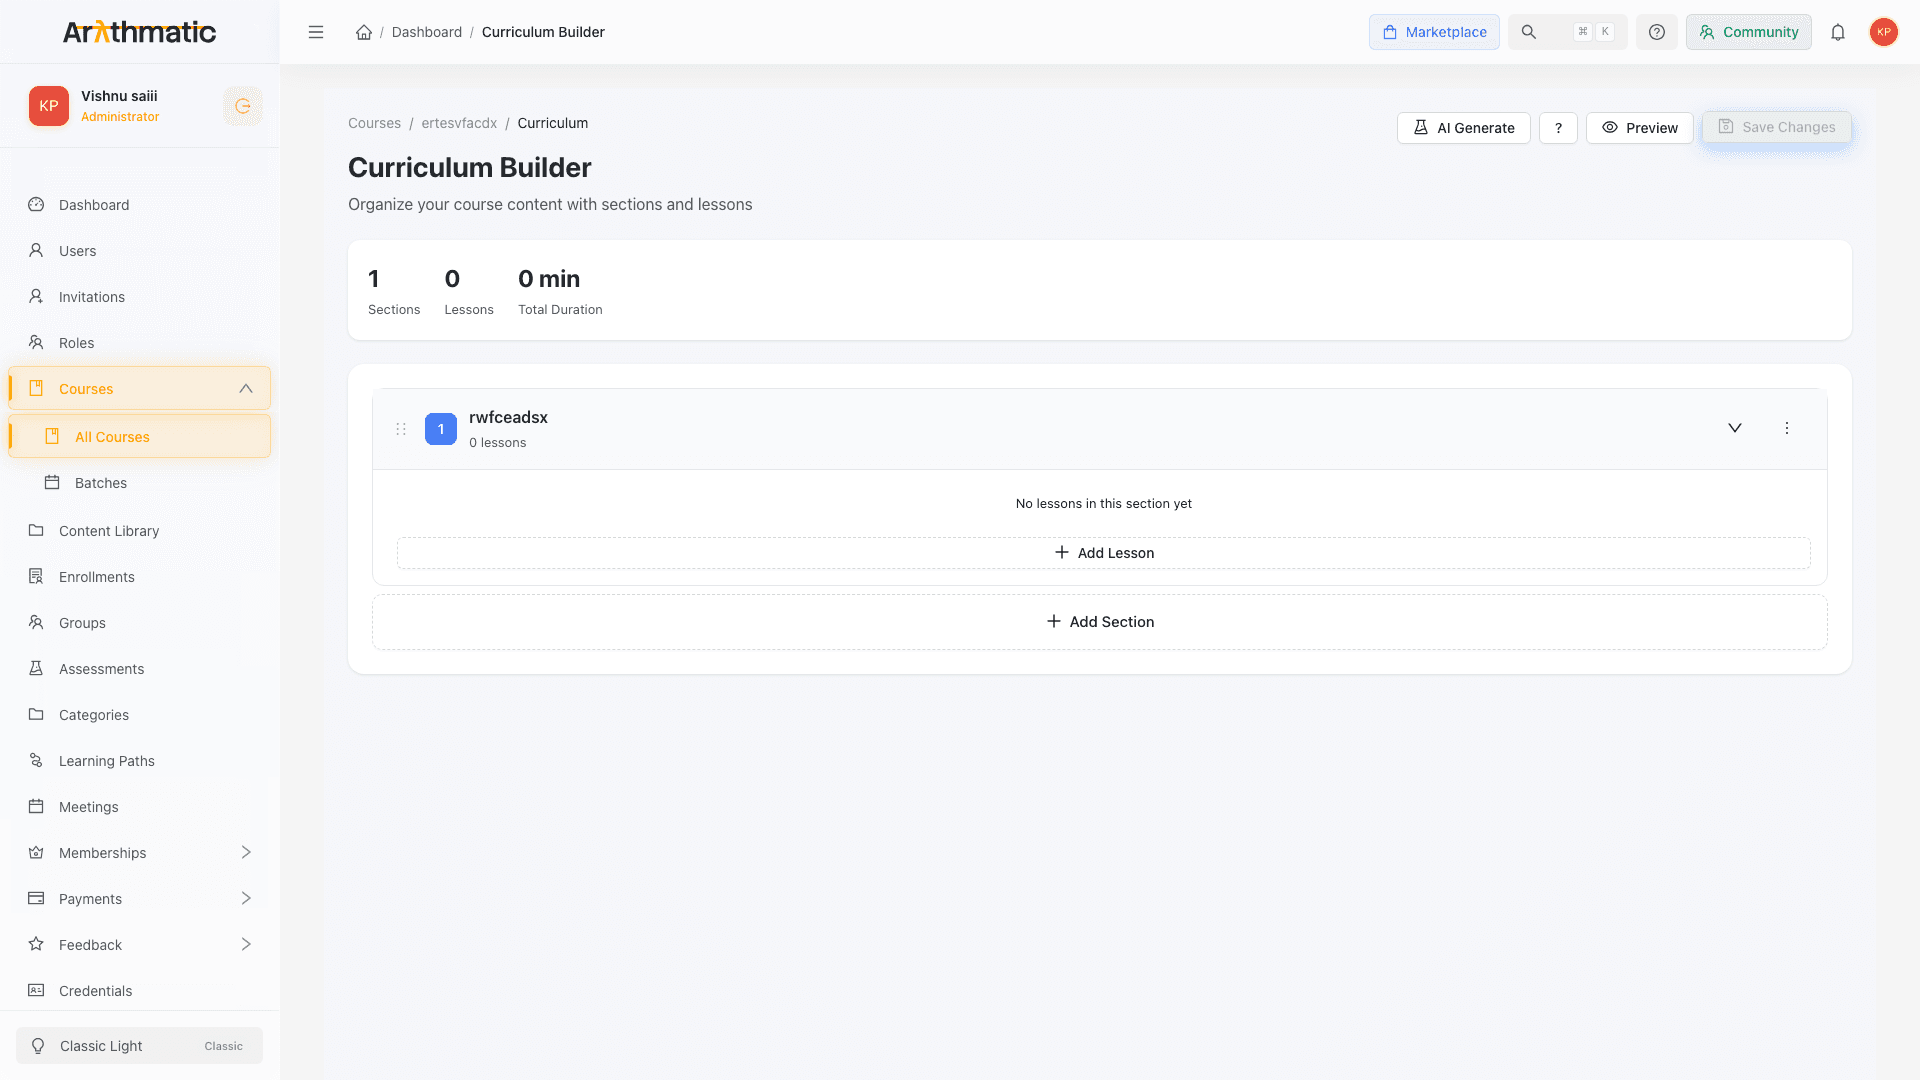
The Curriculum Builder is where you structure your course. You add sections (chapters or modules) and then fill each section with lessons (content items). Everything can be reordered by dragging, renamed inline, and previewed before you publish. A running stat bar at the top keeps a live count of your sections, lessons, and total duration as you build.
Opening the Curriculum Builder
- Open the course from the Courses list.
- Click the Curriculum tab at the top of the course detail page.
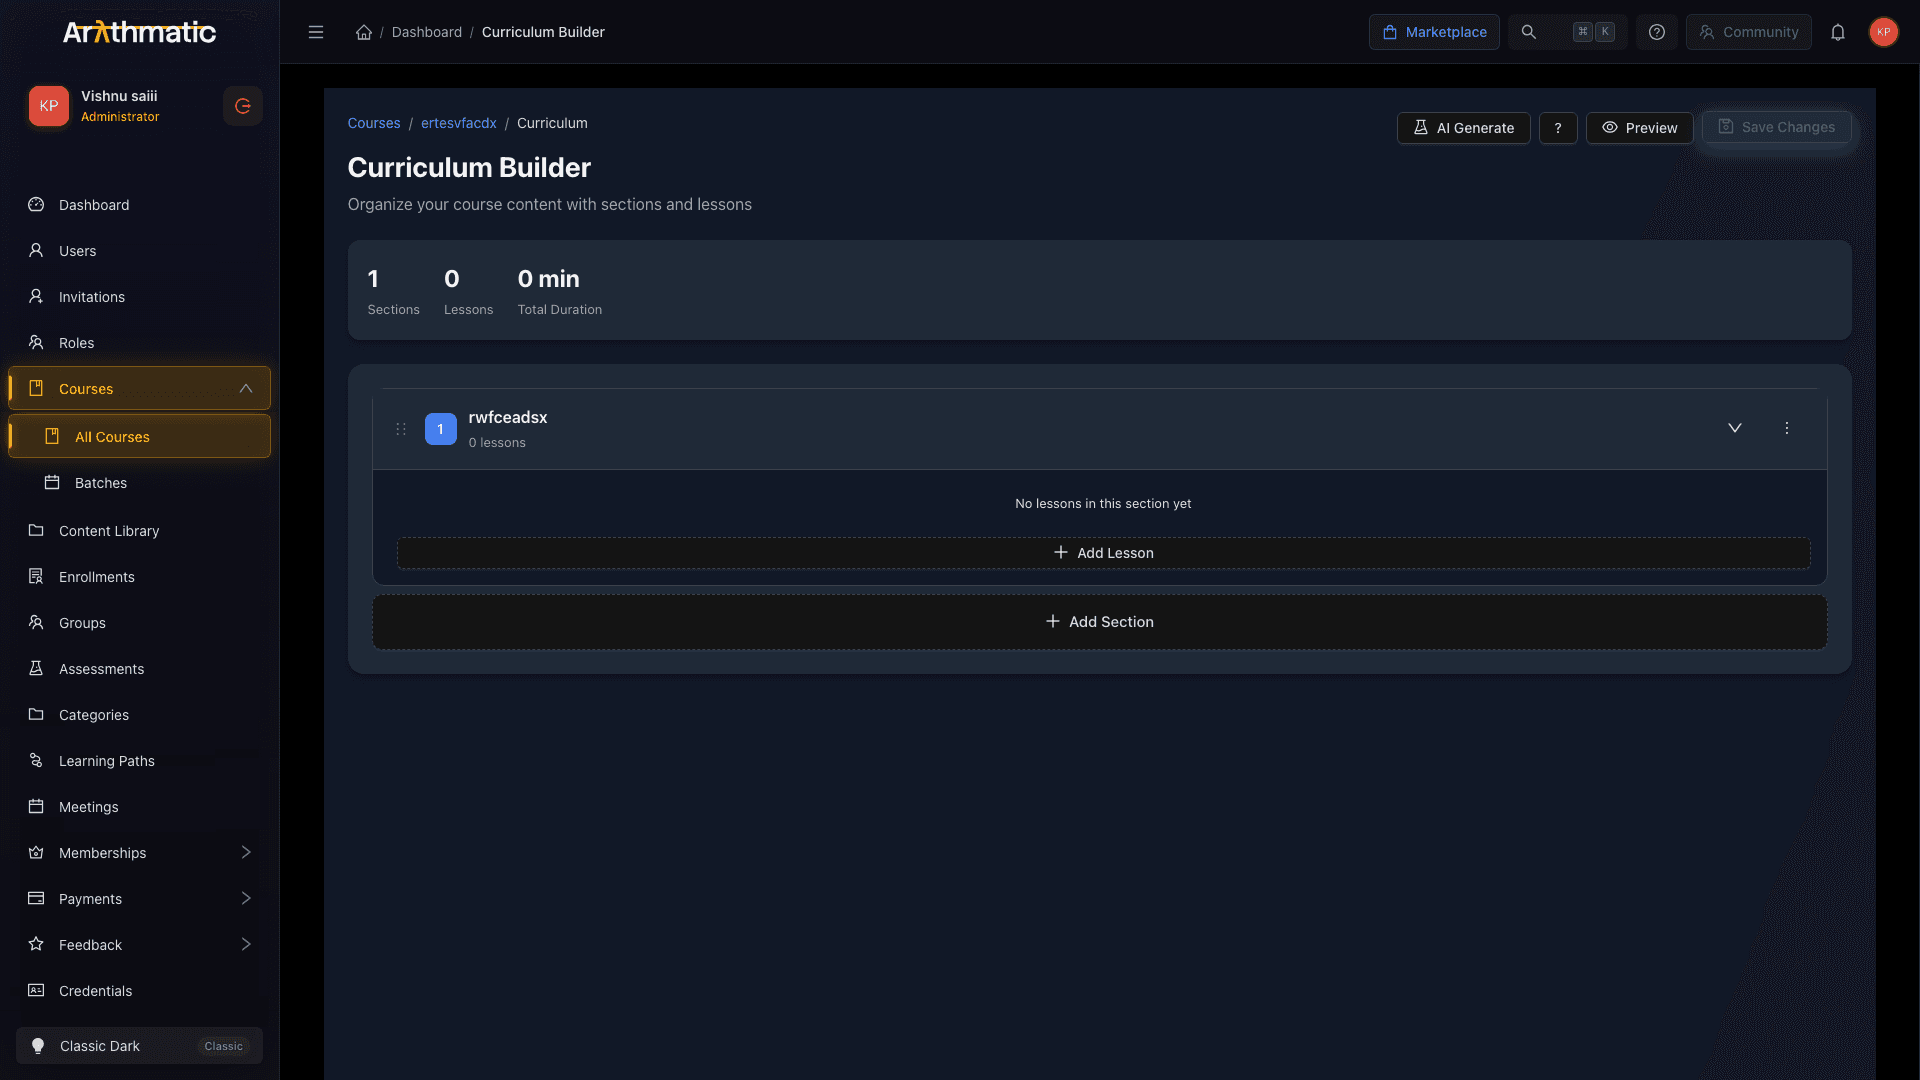
The builder opens on its own page with a breadcrumb (Courses → your course → Curriculum), a header toolbar, and the section list below.
The header toolbar and stats
The header holds four actions and a shortcut helper:
| Control | What it does |
|---|---|
| AI Generate | Opens the AI generation panel for quiz content (see AI Generate). |
| ? | Opens the keyboard-shortcuts help (also opened by pressing ?). |
| Preview | Jumps to the course detail page so you can see the course as a learner would. |
| Save Changes | Persists all pending edits. Disabled until you have unsaved changes. |
Directly beneath the header, a stat bar shows three live counters that recalculate as you edit:
| Stat | Meaning |
|---|---|
| Sections | Total number of sections in the course. |
| Lessons | Total lessons across every section. |
| Total Duration | Sum of every lesson's duration, shown as MM min or Hh Mm. |
Adding a section
Sections are the top-level groupings in your curriculum — think chapters or modules.
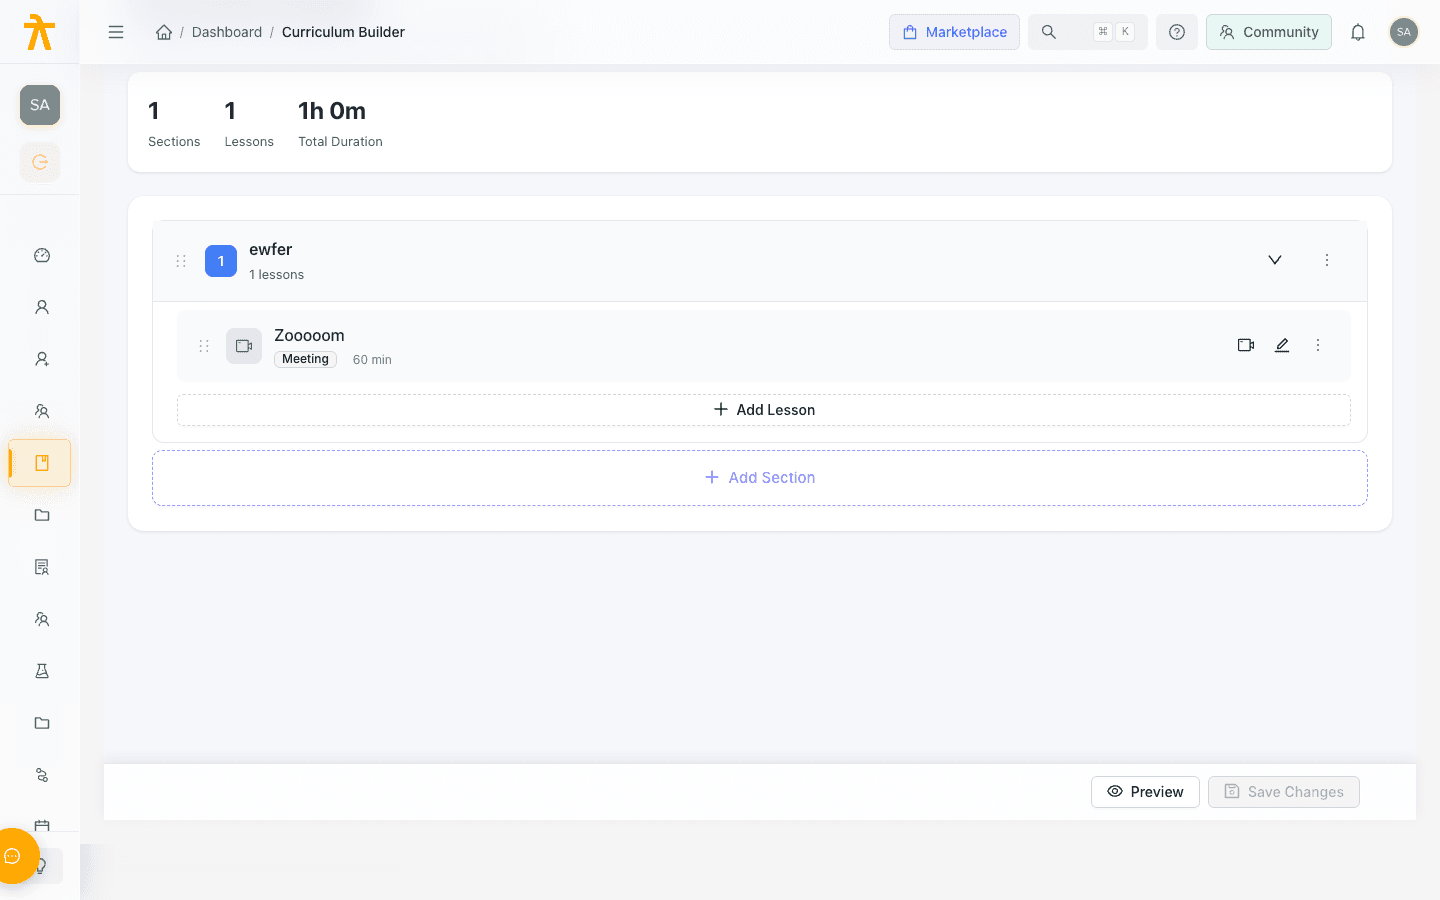
- Click + Add Section at the bottom of the list (or Add First Section if the course is empty).
- A new, editable section appears. Type a title (for example, "Introduction" or "Module 1: Fundamentals").
- Press Enter or click away to save the title.
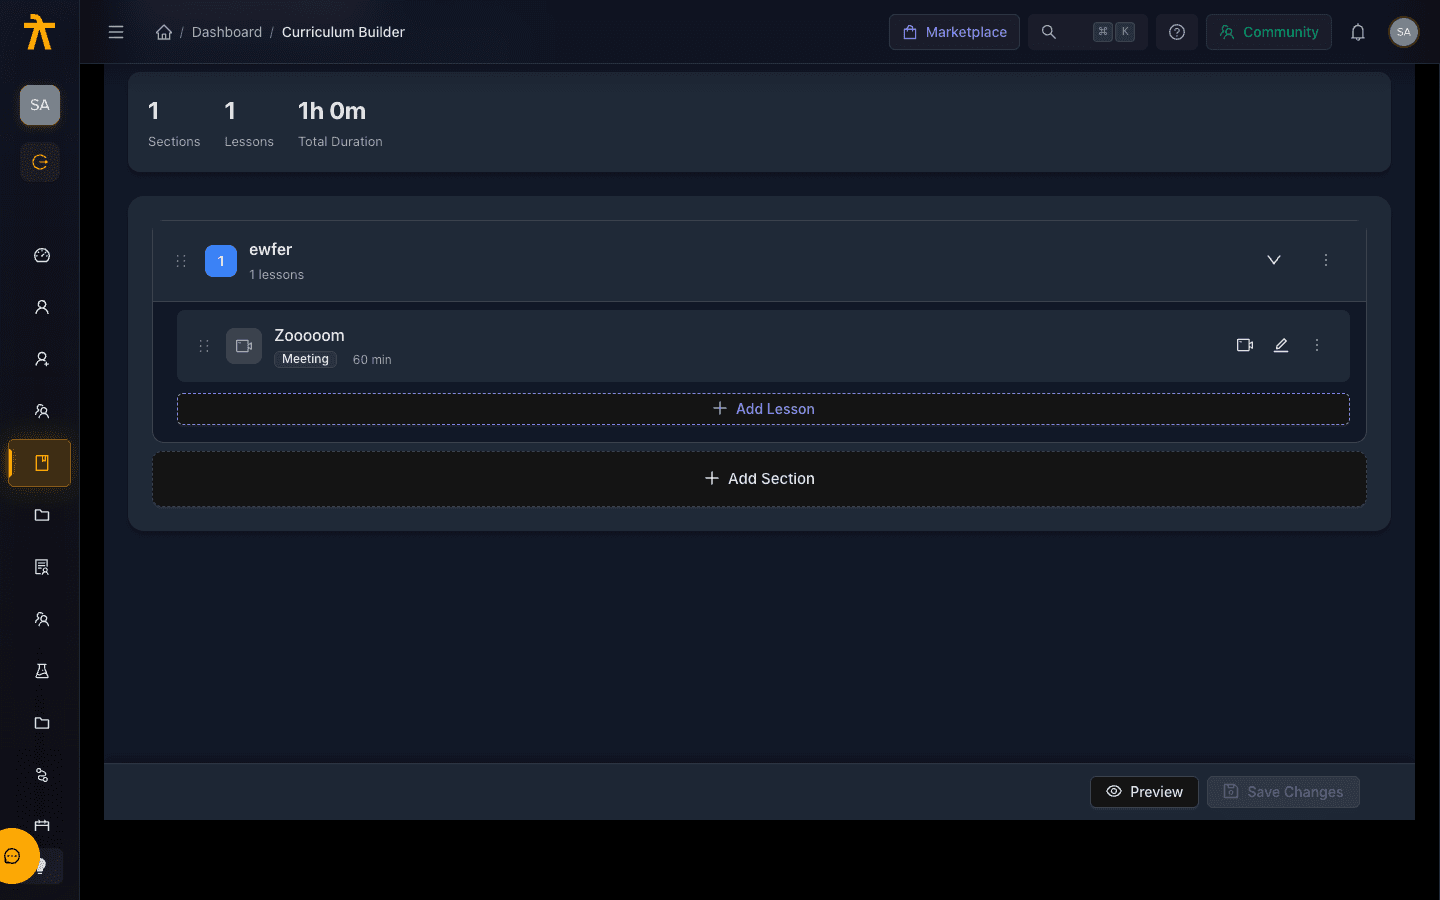
Each section header shows its number, its title, and a N lessons count. Use the chevron on the right to expand or collapse a section's lessons.
Keep section titles short and descriptive. Learners see them in the sidebar navigation while taking the course.
Renaming a section or lesson
Titles are edited in place — there is no separate rename dialog.
- Section: click the section title (or choose Edit Title from the section's
···menu), edit, then press Enter or click away. - Lesson: click the lesson title to turn it into an input, edit, then press Enter or blur to commit.
You must save a brand-new section before you can add lessons to it. Until it is saved, its Add Lesson button is disabled with a "Save the section first" tooltip.
Reordering sections and lessons
There are two ways to reorder, and both apply to sections and lessons:
- Drag: hover to reveal the six-dot handle on the left, then drag the item to a new position. Drop zones highlight where the item will land, and the order saves as part of your next Save Changes.
- Move Up / Move Down: open the
···menu on a section header or lesson row and use Move Up / Move Down. These are disabled at the ends of a list.
Dragging a lesson reorders it within its own section. To move a lesson into a different section, recreate it in the target section, or reuse the underlying asset from the Content Library.
Adding a lesson
Each section holds one or more lessons. To add one:
- Expand the section and click + Add Lesson (or choose Add Lesson from the section's
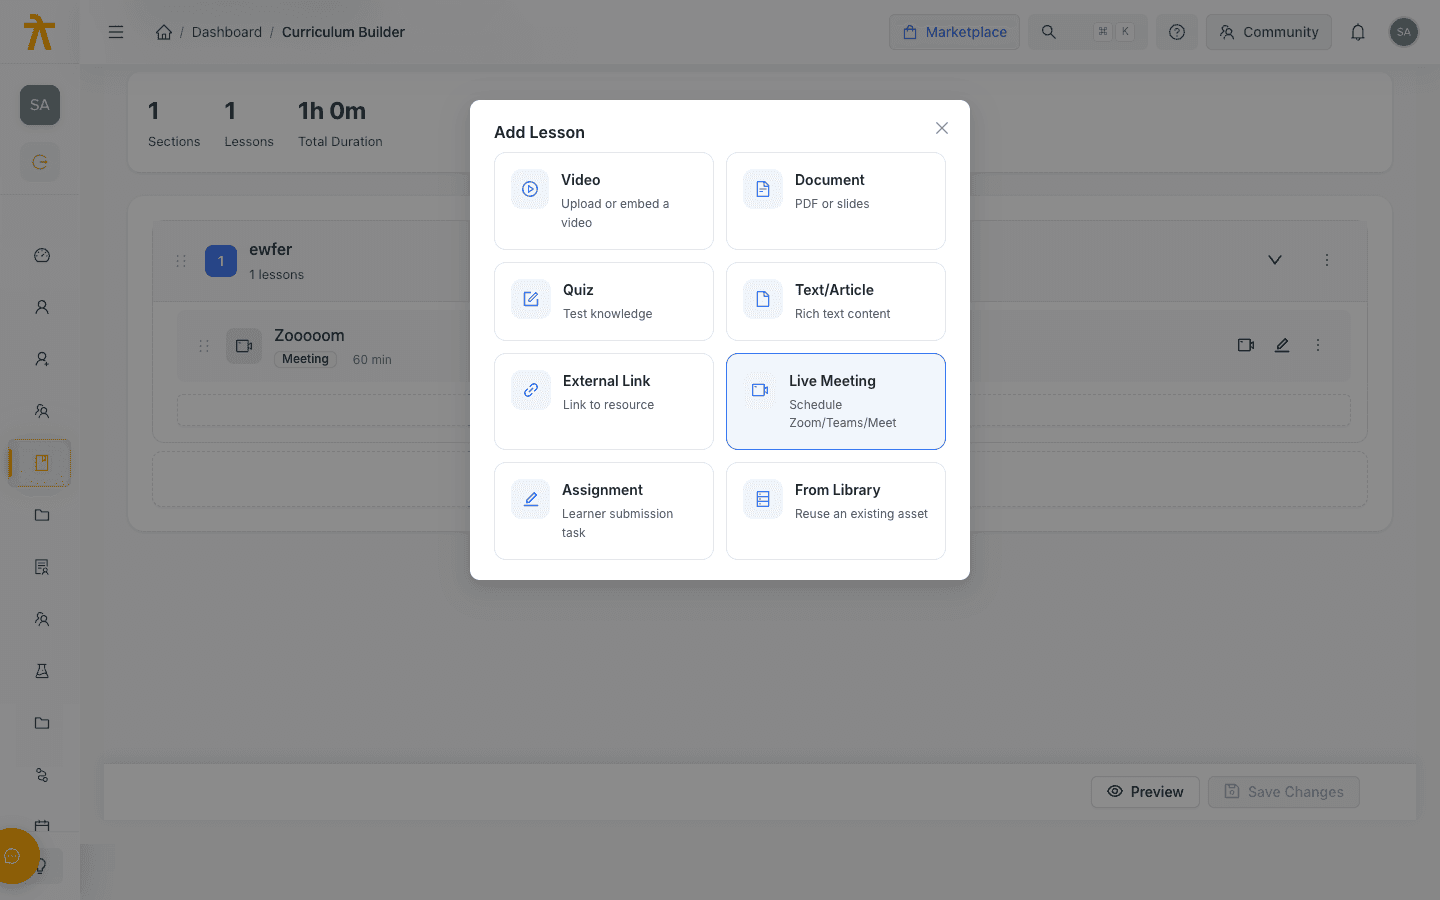
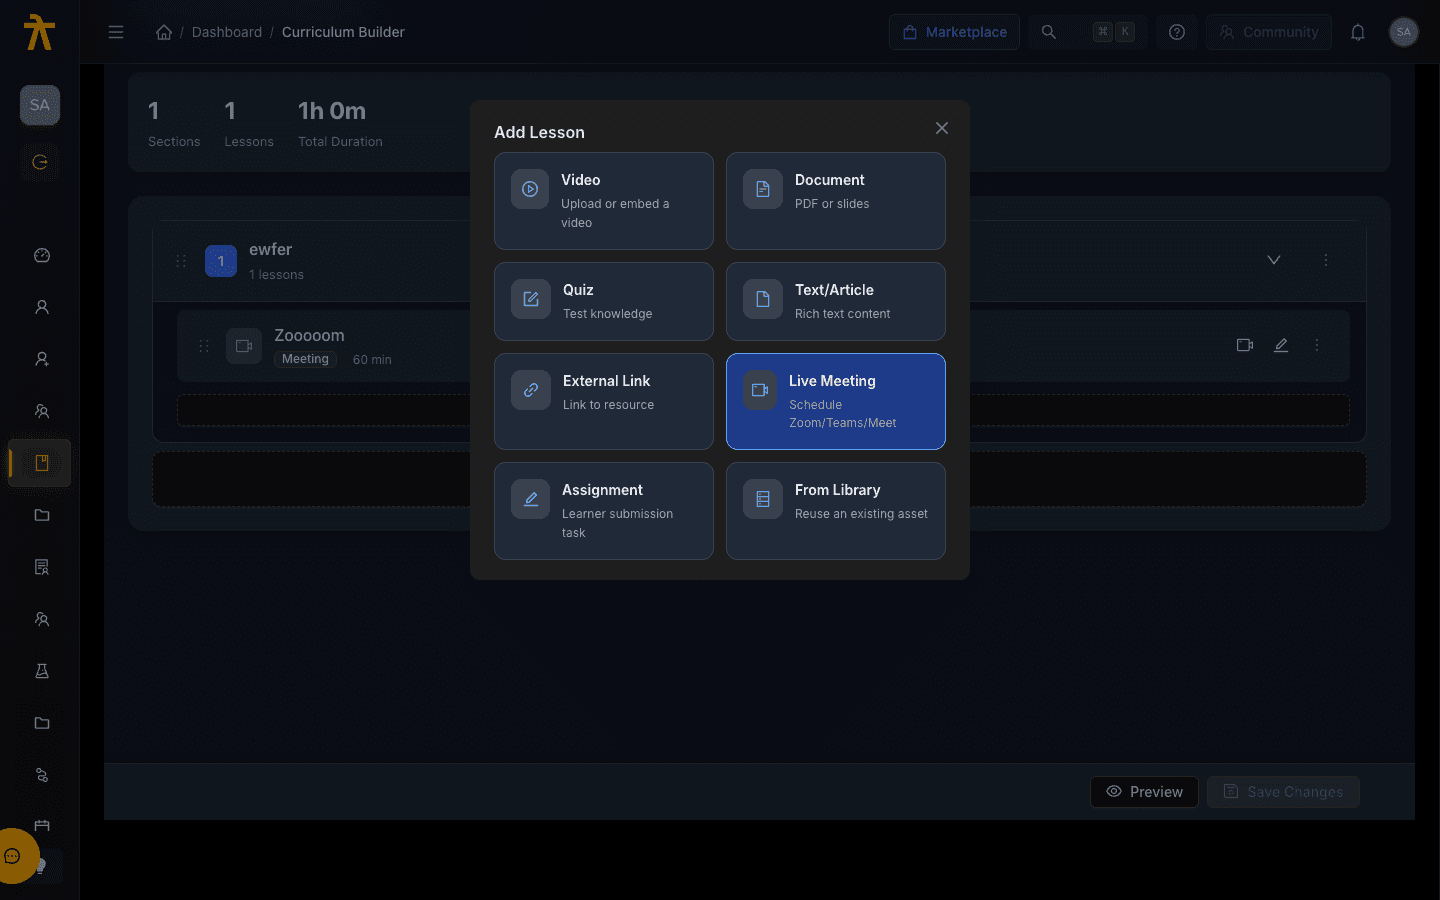
···menu). - The Add Lesson picker appears with eight content types.
- Pick a type. Most types open a dedicated full-page editor; Live Meeting and From Library open a modal instead.
- Fill in the editor and save. The lesson appears in the section.
The eight lesson types
| Type | Picker description | Opens | What the editor captures |
|---|---|---|---|
| Video | Upload or embed a video | Video editor | Uploaded/embedded video, auto- or custom thumbnail, title, and duration. |
| Document | PDF or slides | Document editor | Title (required), description, and an uploaded PDF or slide deck. |
| Quiz | Test knowledge | Quiz Builder | Quiz settings plus a full question bank (see below). |
| Text/Article | Rich text content | Text editor | Rich-text body with headings, links, and images; live word count and reading time. |
| External Link | Link to resource | URL editor | Resource URL (required), title (required), description, and open-in behaviour. |
| Live Meeting | Schedule Zoom/Teams/Meet | Meeting modal | Scheduled session across a supported platform (see below). |
| Assignment | Learner submission task | Assignment editor | Instructions, due date, points, and submission rules (see below). |
| From Library | Reuse an existing asset | Asset picker | Links an existing Content Library asset as a lesson. |
For the learner-facing behaviour of each type, see Content Types.
Video
Videos start with an upload zone. Once the file finishes uploading and processing, you get an inline player. In the Thumbnail section you can Generate a frame automatically or Upload Custom artwork, and clear it again if needed.
A freshly uploaded video shows a processing state until encoding finishes. Wait for the playable preview before publishing, or learners may hit an unready video.
Document
The Document editor captures a Title (required) and a Description, then lets you upload a PDF or slide deck for learners to read or download.
Quiz
The Quiz Builder has two halves — quiz-level settings and the question bank.
| Quiz setting | Options / notes |
|---|---|
| Quiz Title | Required. |
| Description | Free text. |
| Passing Score (%) | Percentage a learner must reach to pass. |
| Time Limit (minutes) | Leave empty for no limit. |
| Max Attempts | Number of allowed attempts. |
| Shuffle questions / Shuffle answer options | Randomise order per attempt. |
| Show Correct Answers | Immediately after submission, After all attempts used, After deadline passes, or Never. |
| Show score immediately / Allow review / Require all questions / Auto-submit on time limit | On/off toggles. |
| Submission Mode / Questions Per Attempt / Attempt Reset Hours | Control how attempts draw from the bank and when they reset. |
Each question captures Question Text (required), a Question Type, Points, and a Difficulty (Easy / Medium / Hard). The supported question types are:
| Question type | |
|---|---|
| Single Choice | Multiple Choice |
| True/False | Fill in the Blank |
| Matching | Ordering |
Add at least one question before publishing — an empty quiz is one of the most common curriculum gaps.
Text/Article
The Text editor is a rich-text surface with a formatting toolbar. Block formats include Paragraph and Heading 1–4. You can insert links (URL plus link text) and images (image URL plus alt text). A footer shows a live word count and an auto-calculated reading time (roughly one minute per 200 words).
External Link
| Field | Required? | Notes |
|---|---|---|
| Resource URL | Yes | The destination, e.g. https://example.com/resource. |
| Title | Yes | Descriptive lesson title. |
| Description | No | What learners will find at the link. |
| Open in | — | New Tab (default) or Same Tab. |
Live Meeting
Choosing Live Meeting opens the schedule modal. It captures a Meeting Title (required), Description, Date & Time (required), and Duration (30 / 45 / 60 / 90 / 120 minutes). Then pick a Meeting Platform:
| Platform | How the link is created |
|---|---|
| Zoom | Auto-generated after you connect your Zoom account. |
| Teams | Auto-generated via Microsoft Teams after connecting your Microsoft account. |
| Google Meet | Auto-generated via Google Calendar after connecting your Google account. |
| Arythmatic | Link and ID generated automatically; optionally choose a host and tune meeting settings. |
| Custom | You paste the Meeting Link and Meeting ID yourself, plus an optional Passcode. |
For Zoom, Teams, and Meet the modal shows a connection banner and a Connect button if your account is not yet linked. Arythmatic meetings add settings presets (Instructor-Led, Office Hours, Recorded Lecture), toggles for waiting room, recording, chat, screen sharing, audio/video, and reminder options. Recurring meetings are marked Coming Soon.
For Zoom, Teams, and Google Meet you must connect the matching account before the meeting can be scheduled — the link is generated on their side.
Assignment
| Field | Required? | Notes / values |
|---|---|---|
| Title | Yes | Assignment title. |
| Description | No | Short summary shown in the curriculum list. |
| Instruction Format | — | Rich Text or Upload PDF (question paper). |
| Instructions | For rich text | The task, submission requirements, and evaluation criteria. |
| Question Paper (PDF) | For PDF mode | Uploaded question paper. |
| Due Date / Due Time | No | Optional deadline; time is enabled once a date is set. |
| Max Points | — | Defaults to 100 (minimum 1). |
| Allowed Submission Types | — | File Upload, Written Answer, or Both. |
| Accepted File Types | For file submissions | PDF and/or DOCX. |
| Allow resubmission | — | Off by default. |
You can also attach Reference Attachments (rubrics, templates, reference material) that learners can download.
From Library
From Library opens the Content Library asset picker instead of an editor. Selecting an asset creates a lesson that is linked to that library asset — it shows a blue Library tag in the curriculum. This is the way to reuse an existing video, document, audio, or other asset across multiple courses without re-uploading it.
AI Generate
Two AI helpers speed up authoring:
- AI Generate (header button) opens a panel scoped to quiz content — it can generate a quiz description, a batch of quiz questions, or details for a single question. Generated questions are surfaced with a toast so you can drop them into a quiz you build in a section.
- Suggest lessons with AI (a section's
···menu) uses the course and section titles to propose a lesson outline for that specific section.
Treat AI output as a first draft. Review generated questions and lesson suggestions for accuracy before saving them into your curriculum.
Preview and Save Changes
The builder tracks unsaved edits. When anything changes, a "You have unsaved changes" hint and a floating save bar appear.
- Preview opens the course detail page so you can sanity-check the structure as a learner sees it.
- Save Changes (header or floating bar) persists all pending edits — added, renamed, reordered, and deleted items — and clears the unsaved-changes flag. It is disabled while a save is in progress or when there is nothing to save.
Reordering and inline renames are part of your unsaved changes — they are not auto-committed. Click Save Changes before leaving the page, or you will be prompted about unsaved work.
Editing and deleting
- Edit a lesson: click the pencil icon on the lesson row to reopen its editor, or click the title to rename inline. From the lesson's
···menu you can also toggle Set as Preview so the lesson is viewable before enrolment. - Delete a lesson: open the lesson's
···menu and choose Delete. - Delete a section: open the section's
···menu and choose Delete Section — this also deletes every lesson inside it.
Deleting a section removes all of its lessons and cannot be undone. If you are restructuring, move or recreate the lessons you want to keep first.
Curriculum completion checklist
Before you publish, verify:
- Every section has at least one lesson
- All video lessons have finished processing (a playable preview shows, not "processing")
- Quiz lessons have at least one question
- Assignment lessons have clear instructions and the right submission types
- Live meetings use a connected account (or a valid custom link)
- Section and lesson titles are clear and spell-checked
- The order of sections and lessons matches the intended learning flow
- You clicked Save Changes and the unsaved-changes hint is gone
When you are happy with the curriculum, proceed to Preview and Publish.
Create a Course
Field-by-field guide to the 5-step Create Course wizard in the Arythmatic manage dashboard.
Content Types
A complete reference for every lesson content type in Arythmatic — video, audio, document, text/article, external link, live meeting, assignment, quiz, image, and reusing a Content Library asset.
