

Categories
Create and organize a hierarchical category tree to help learners browse your course catalog.
Categories
Categories give your course catalog structure. You can nest categories up to any depth — for example Technology → Software Development → Python — so learners can browse from broad topics down to specific subjects.
Before you start
- You need the Admin role to create, edit, or delete categories.
- Categories you create here are available when creating a Course or Learning Path.
Navigating the Categories page
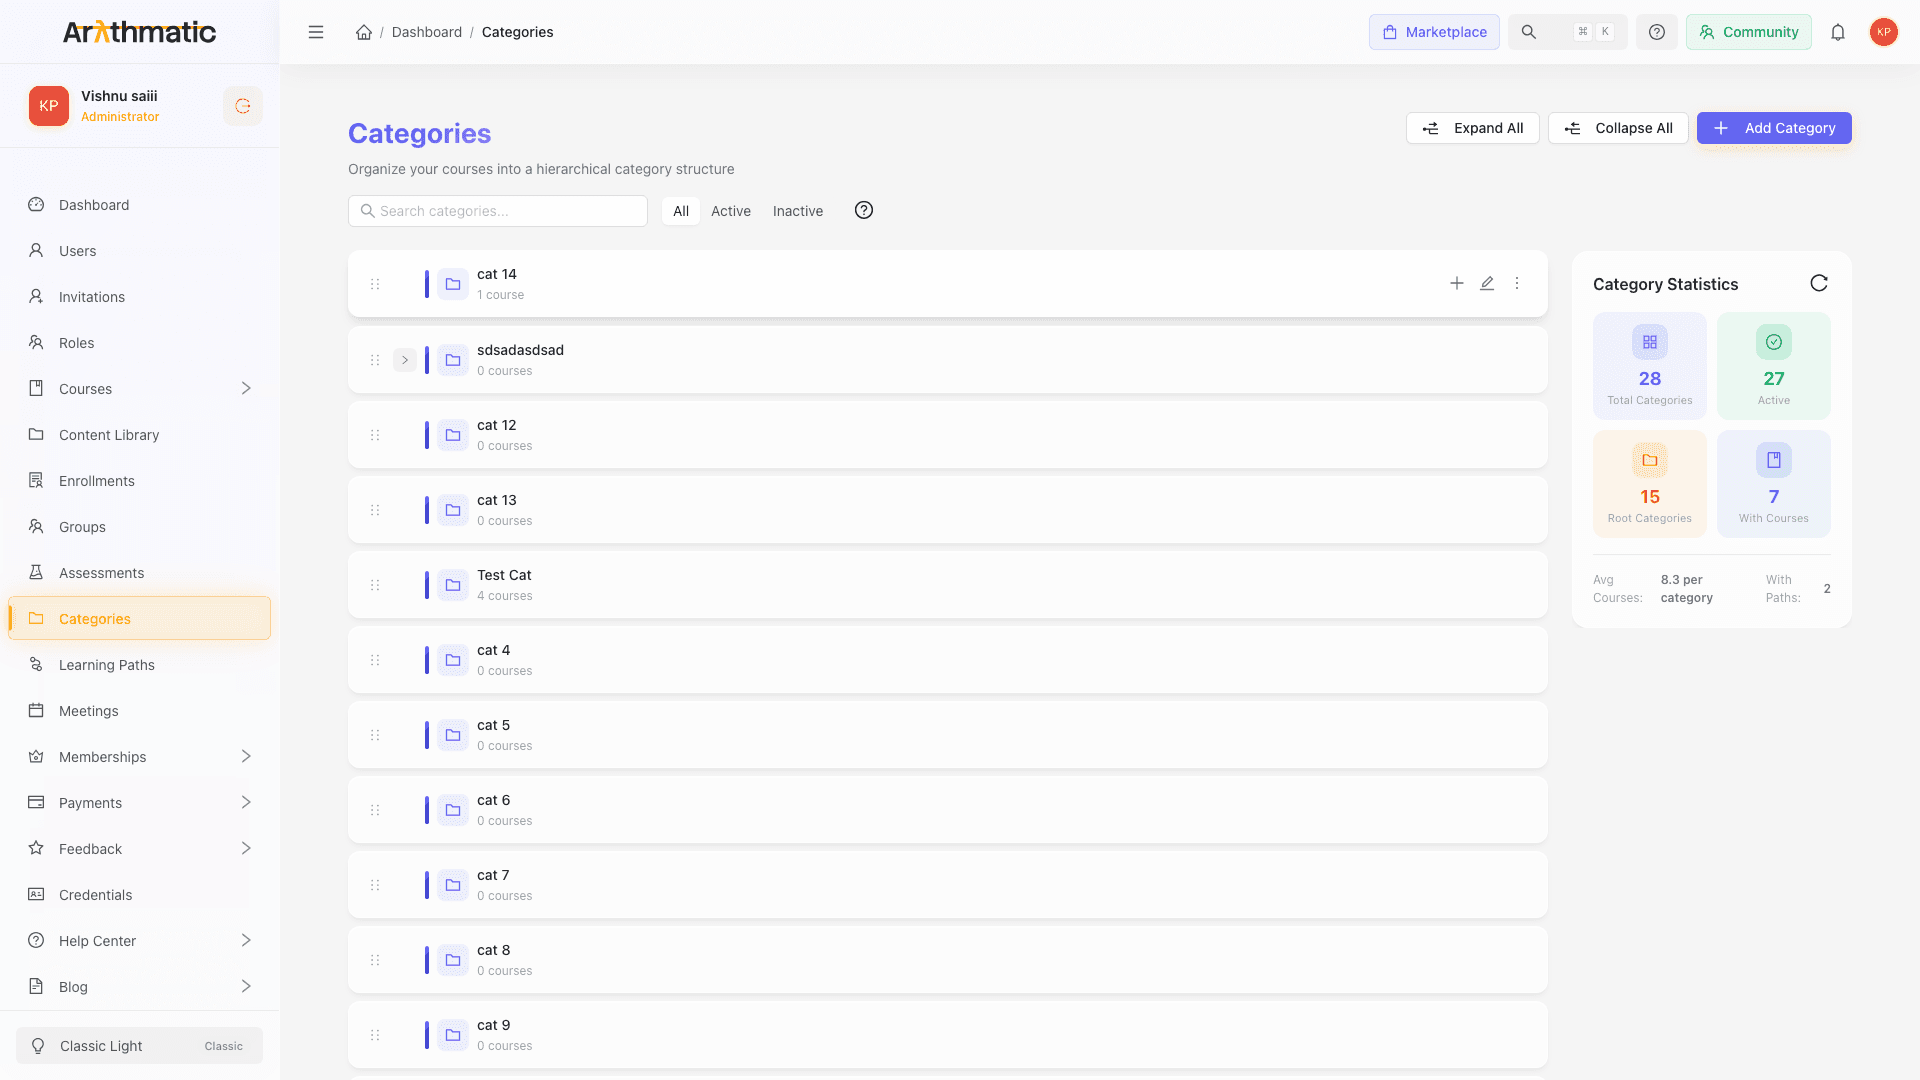
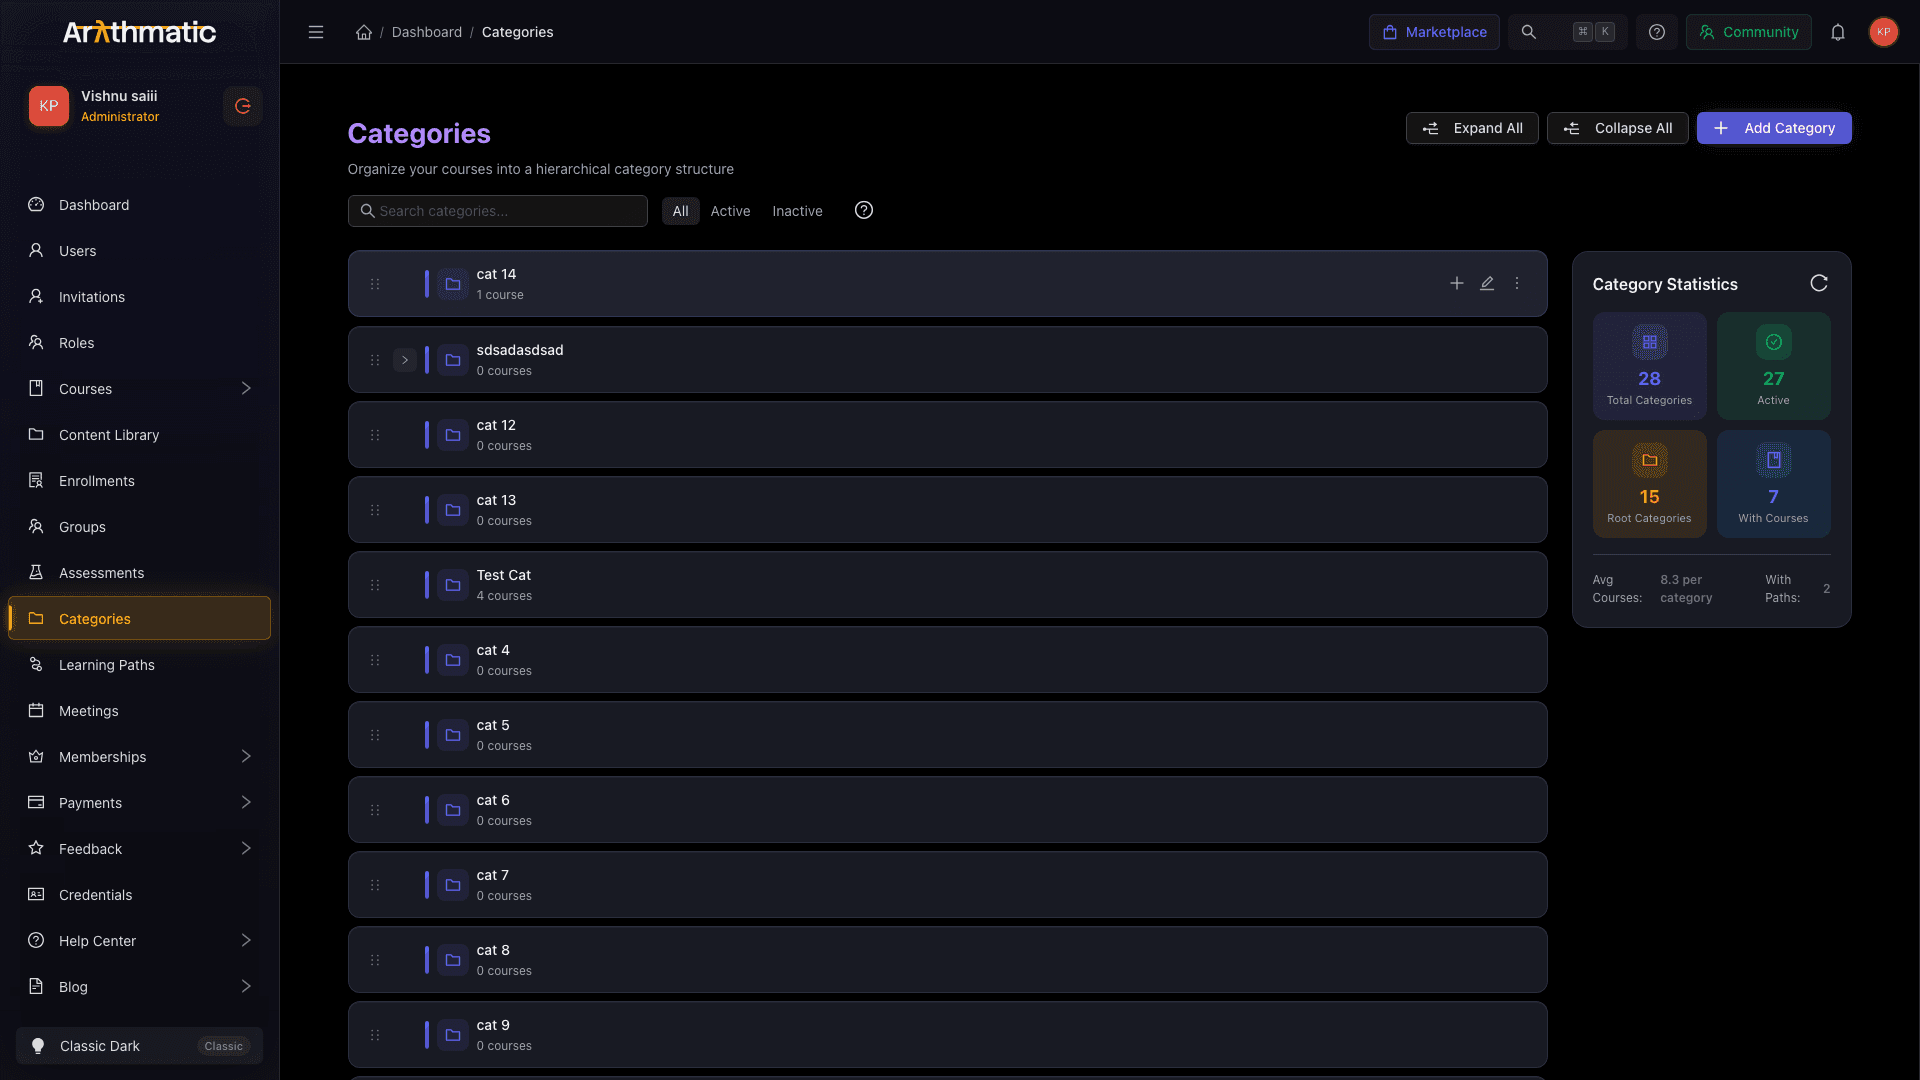
Open Categories from the left sidebar. The page shows a collapsible tree of all your categories.
- Expand All / Collapse All — open or close every branch at once.
- Search — type to filter the tree in real time. Matching categories and their parents remain visible.
- Status filter — switch between All, Active, and Inactive to focus on a subset.
- Keyboard shortcuts — press ? to see all available shortcuts.
Adding a category
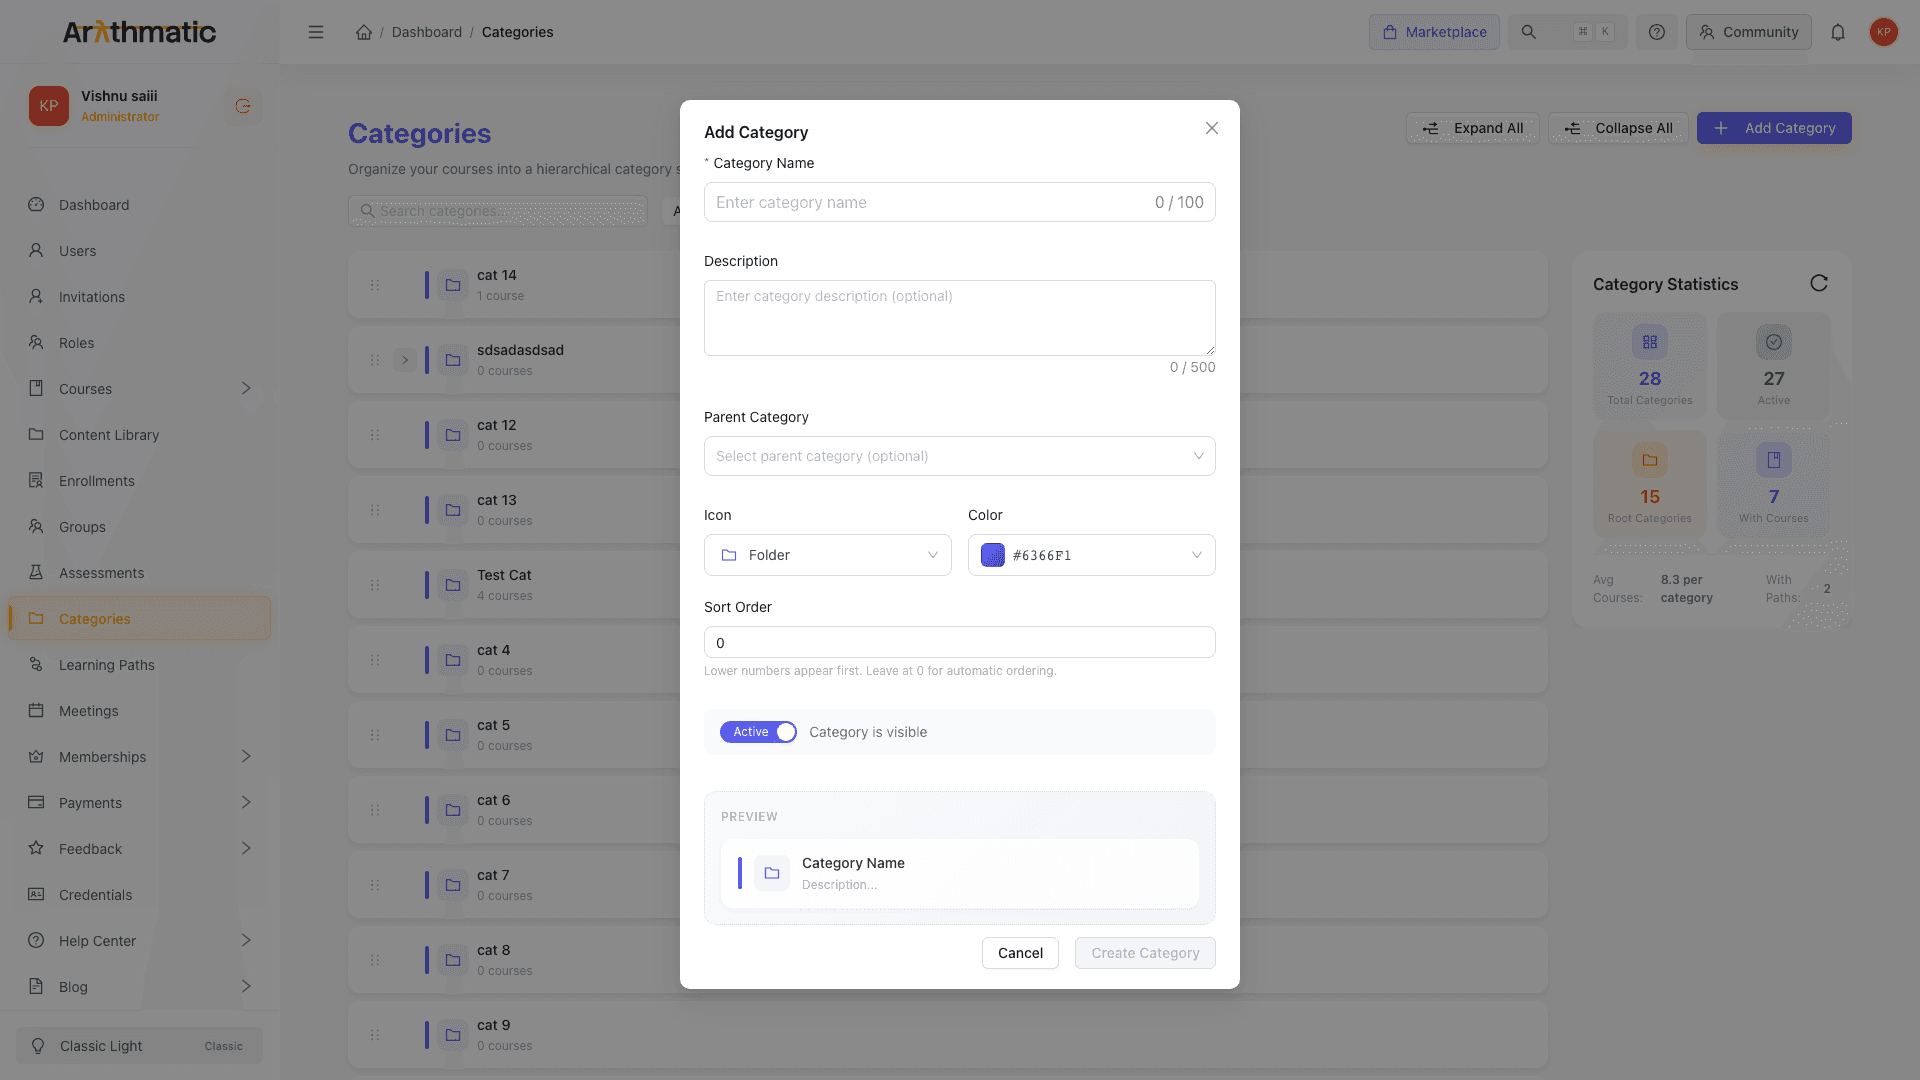
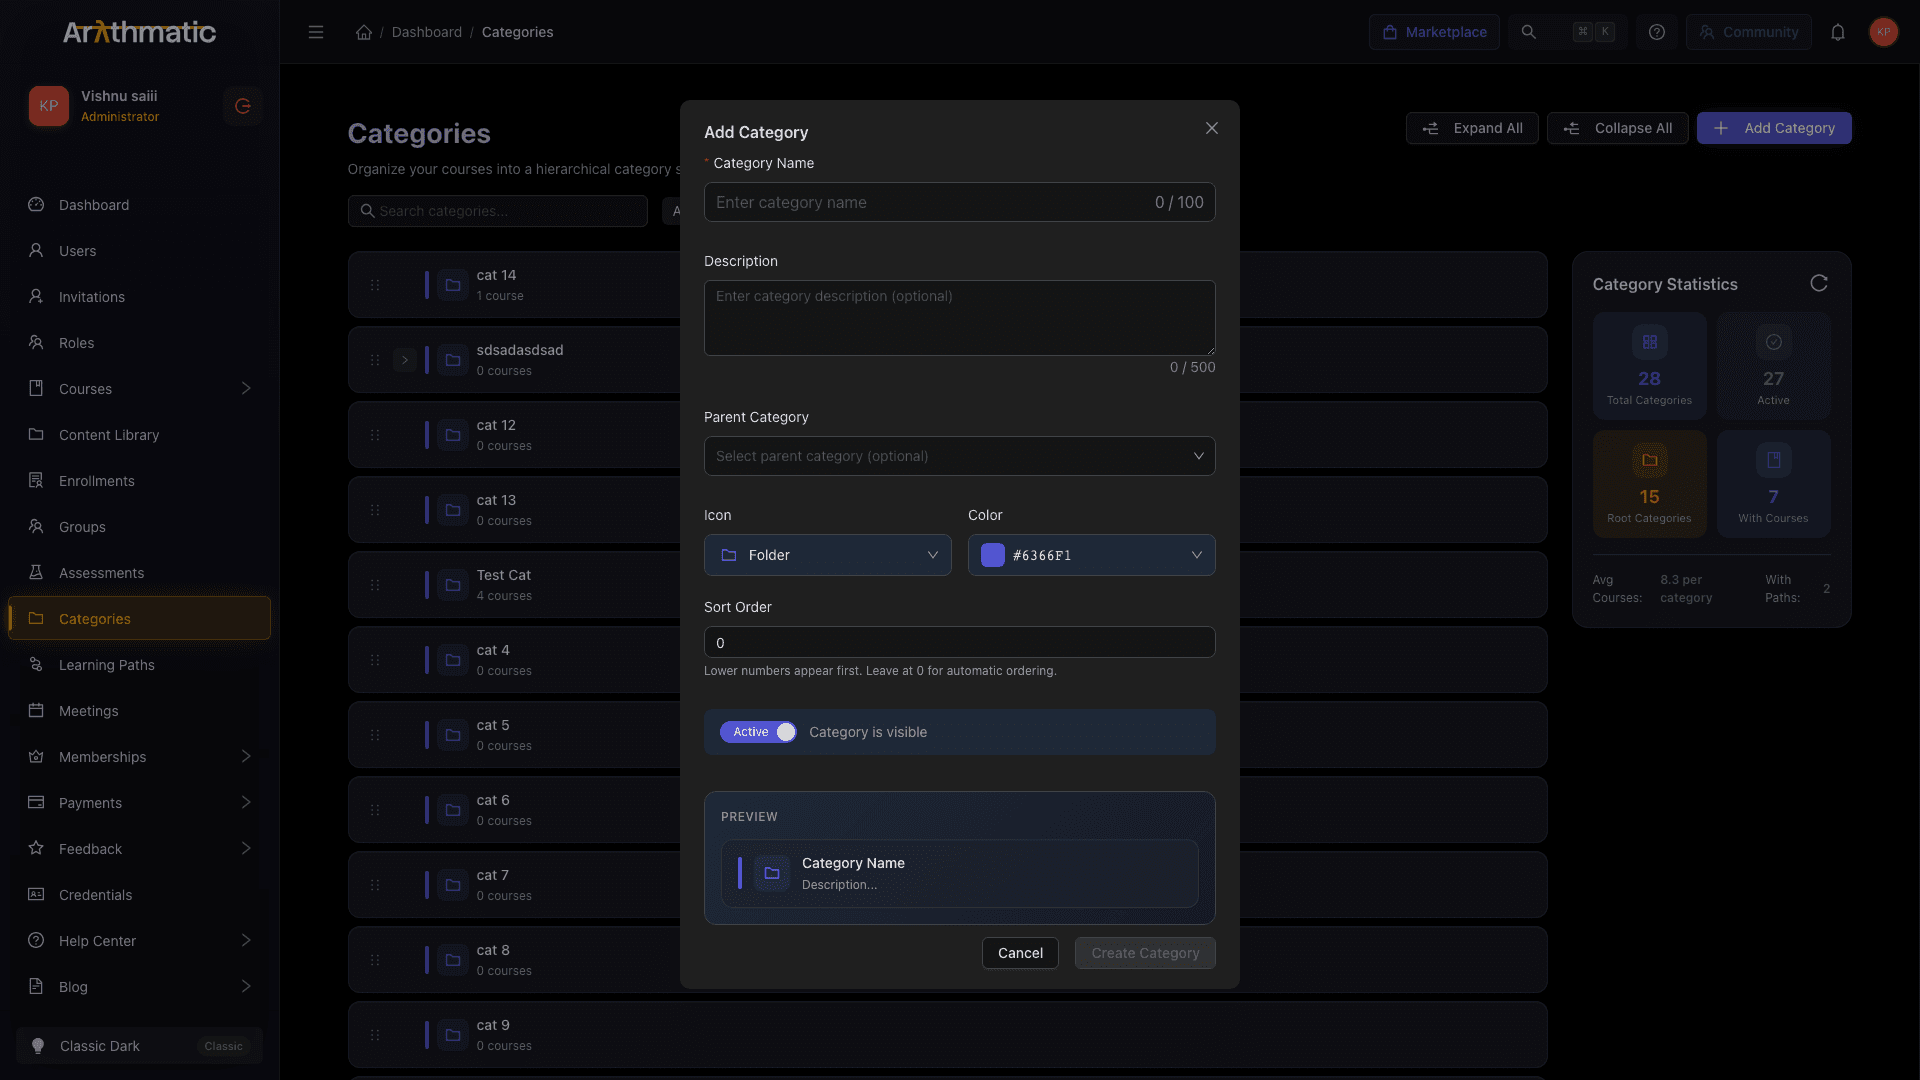
- Click + Add Category (top-right corner).
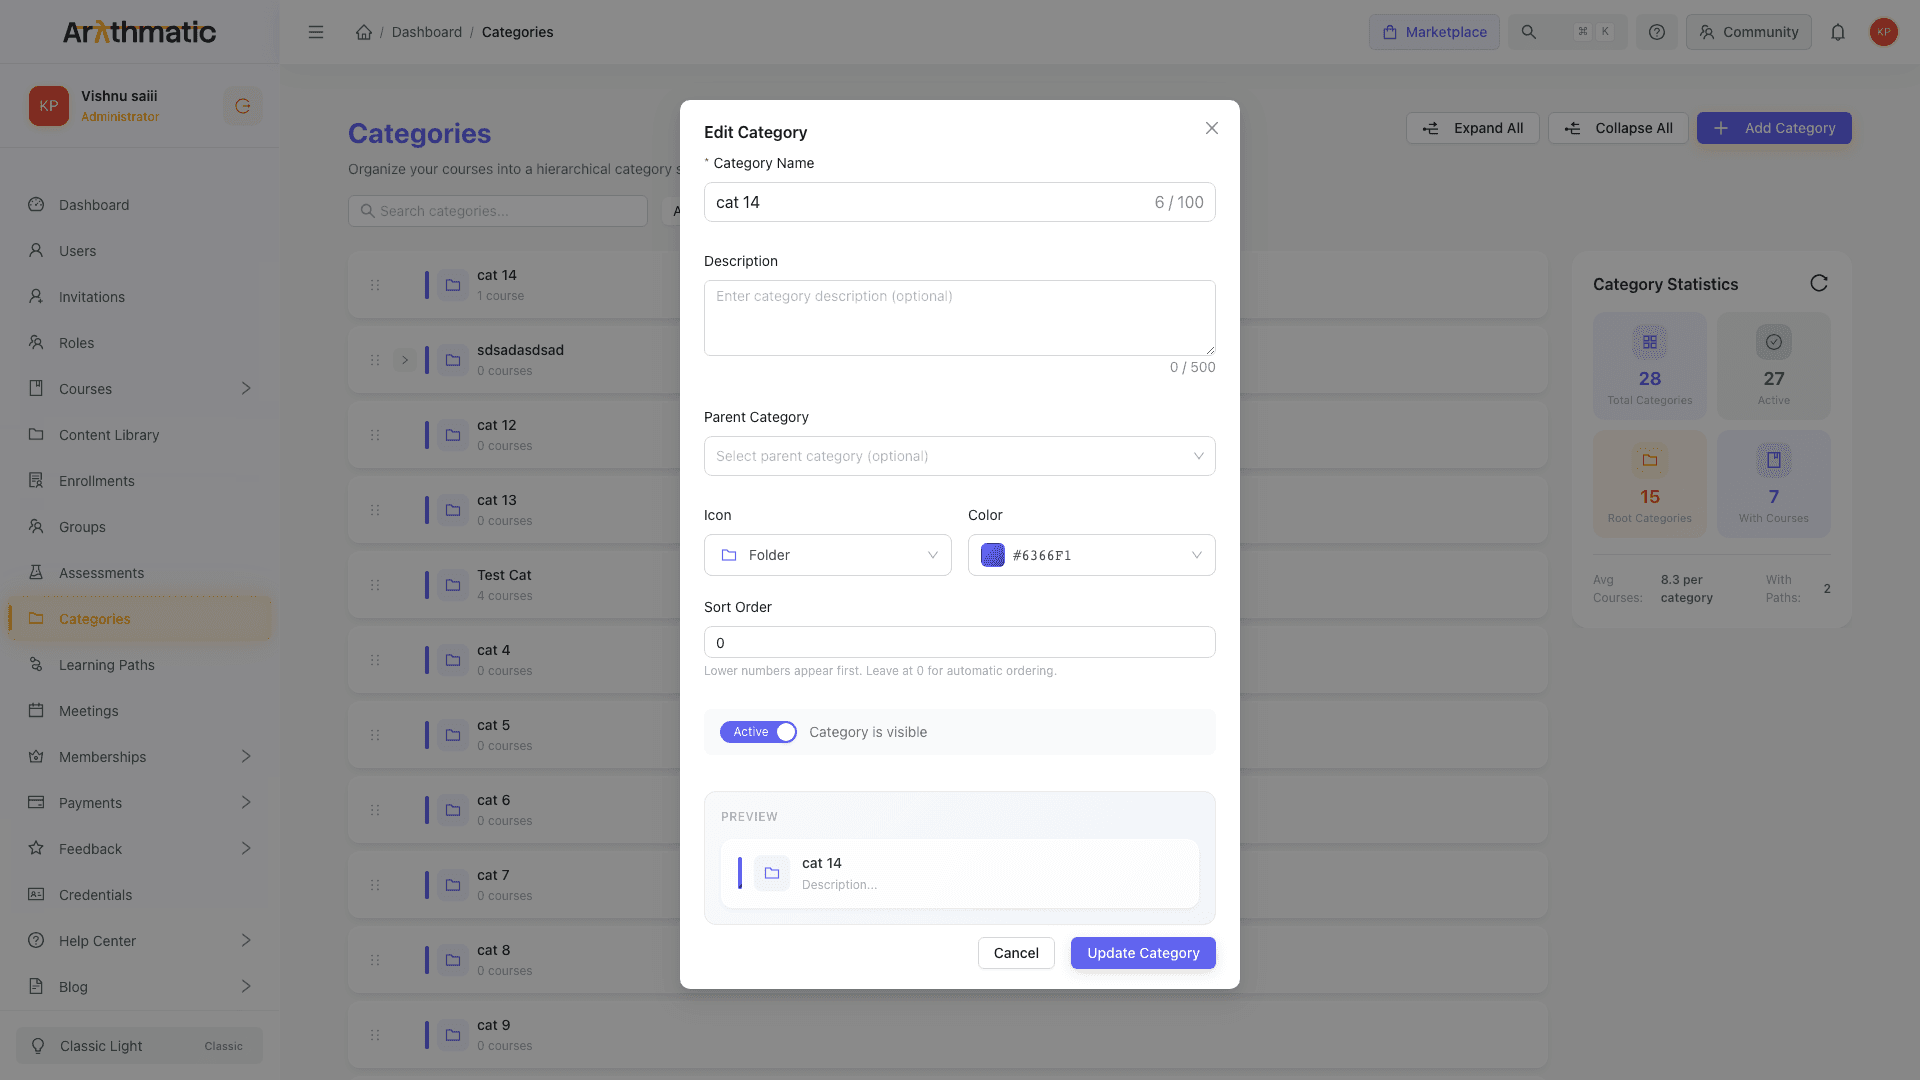
- Fill in the fields:
| Field | Required | Notes |
|---|---|---|
| Category Name | Yes | 2–100 characters. Should be clear and short (e.g. "Data Science"). |
| Description | No | Up to 500 characters. Displayed in the catalog. |
| Parent Category | No | Leave empty to create a root category. Pick a parent to nest this underneath it. |
| Icon | No | Choose from the built-in icon set to visually distinguish the category in the in-app category tree. |
| Color | No | Pick a color to visually distinguish this category in the tree and catalog cards. |
| Sort Order | No | Lower numbers appear first. Leave at 0 for automatic ordering. Range: 0–999. |
| Active | — | Toggle on (default) to make the category visible in the catalog. Toggle off to hide it. |
- Click Create Category.
The new category appears immediately in the tree.
You can nest categories after the fact. Open the edit form of any existing category and choose a new parent from the Parent Category dropdown.
Editing a category
- Hover over any category row — three action buttons appear.
- Click the pencil (edit) icon.
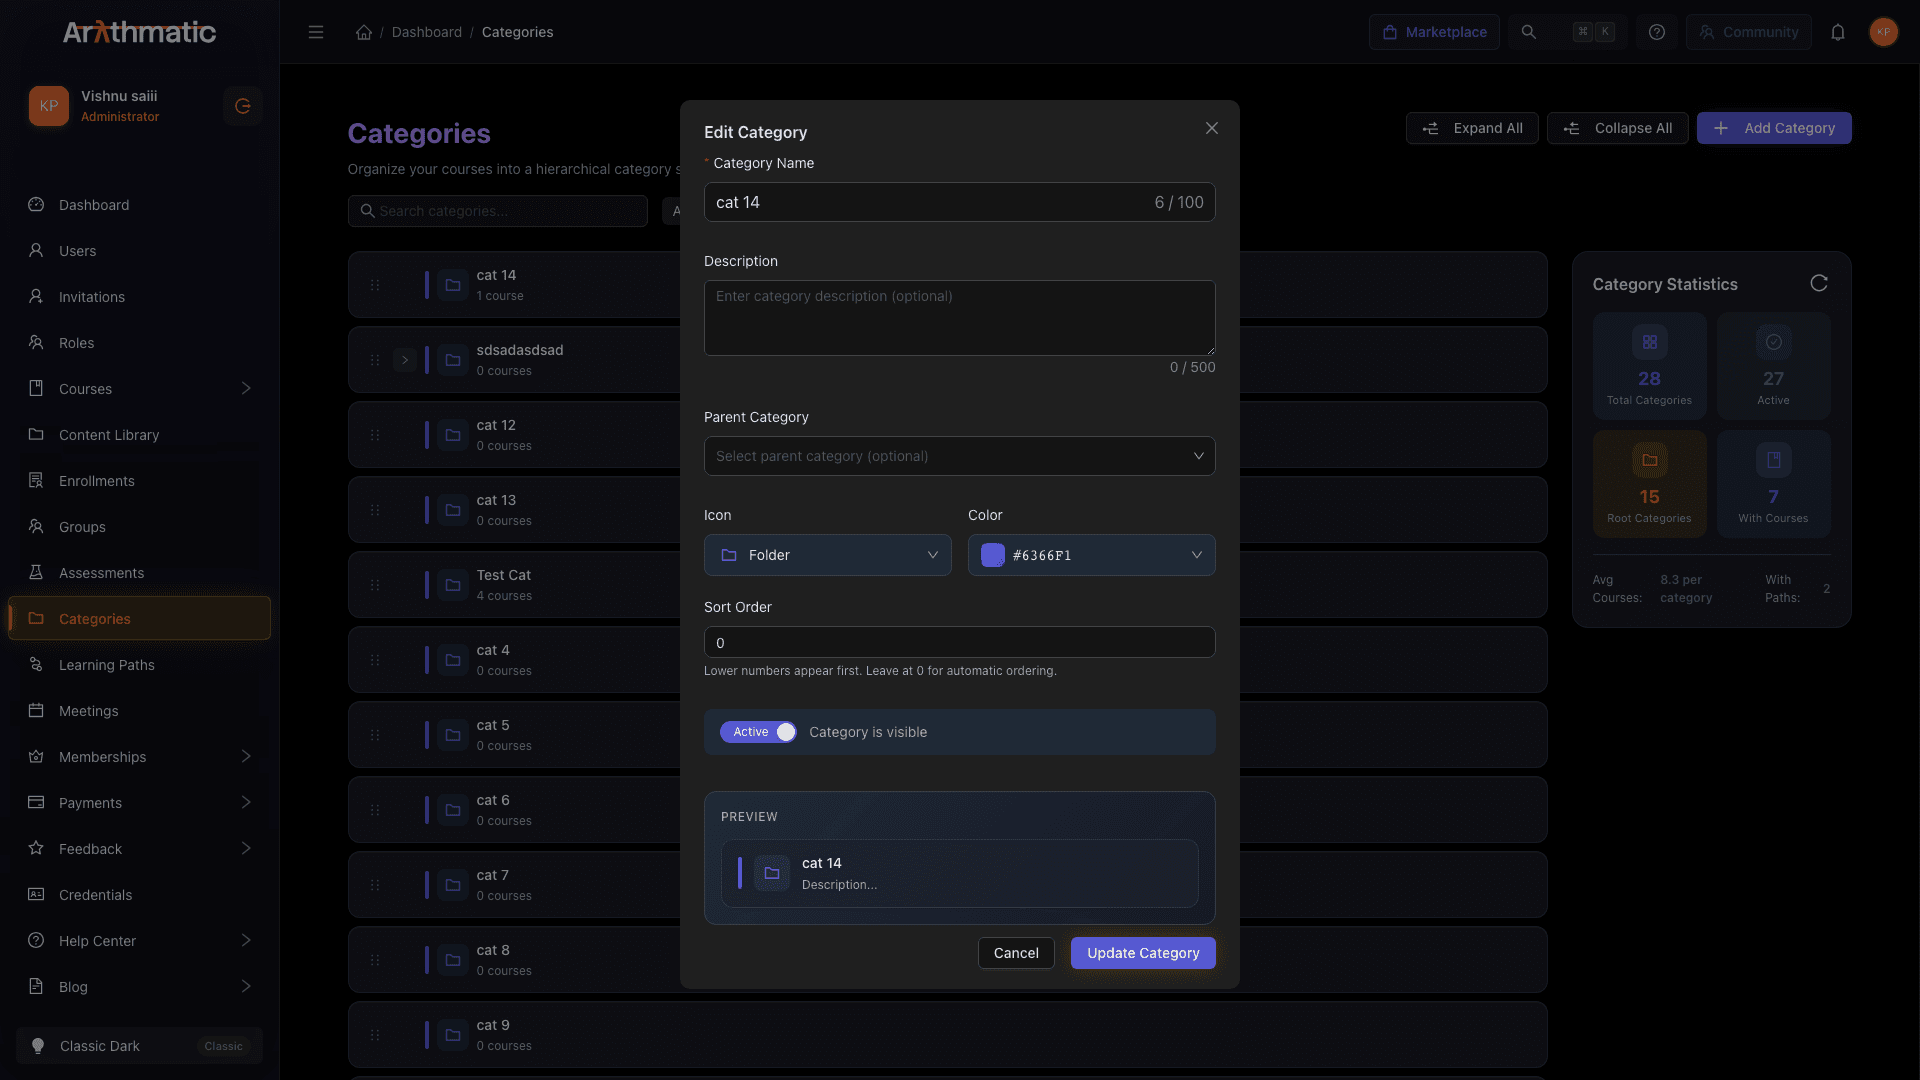
- The same form opens pre-filled with the current values.
- Change what you need and click Update Category.
Reordering categories
Drag and drop any category to a new position within the same level of the tree:
- Hover over the category row — a drag handle (six dots) appears on the left.
- Click and drag the handle up or down.
- Release to save the new position.
To change the numerical sort order instead, open the edit form and update the Sort Order field.
Deactivating a category
Deactivating a category hides it from the learner-facing catalog without deleting it or removing it from courses that already use it.
- Open the edit form for the category.
- Toggle Active off.
- Click Update Category.
The category shows as Inactive in the admin tree and is hidden from the public catalog.
Deleting a category
- Hover over the category row.
- Click the delete (trash) icon.
- A confirmation dialog appears.
- Click Delete to confirm. If the category still has subcategories, courses, or learning paths attached, the deletion is rejected and you will need to reassign or detach them first.
You cannot delete a category while it still has subcategories, or while any courses or learning paths are assigned to it — the API rejects the deletion. Reassign or remove all subcategories, and detach any courses and learning paths, before you delete the category.
Tips & best practices
- Keep the tree shallow. Two to three levels (e.g. Technology → Programming → Python) is usually enough. Deeply nested trees are harder for learners to navigate.
- Use short, clear names. Catalog cards truncate long names.
- Use color and icons sparingly. Assign them to top-level categories only; sub-categories inherit visual context from their parent.
- Use sort order for featured topics. Set the sort order of your highest-priority categories to 1, 2, 3 so they appear first in the catalog.
Related
- Create a Course — select a category when creating a course
- Learning Paths — Overview — categories are also used in learning paths
Content Library
Upload and manage reusable media assets — videos, documents, audio files, and images — that can be attached to lessons across multiple courses.
Enrollment & Delivery
Get learners into courses and deliver live — enrollments, batches (cohorts), live meetings, and the template marketplace.
