

Certificate Templates
Design, version, and manage the certificate templates that decide how your issued credentials look — using the visual overlay editor or the HTML code editor.
Certificate Templates
A certificate template is the reusable design that every credential you issue is rendered from — the background, the layout, and the dynamic fields (recipient name, course title, issue date, verification QR code, and more). Templates live under Credentials → Templates, and you build them in the Credential Builder.
This page covers the Templates tab, the two builder modes, how draft-versus-published versioning protects already-issued certificates, and how you map a specific template to specific courses.
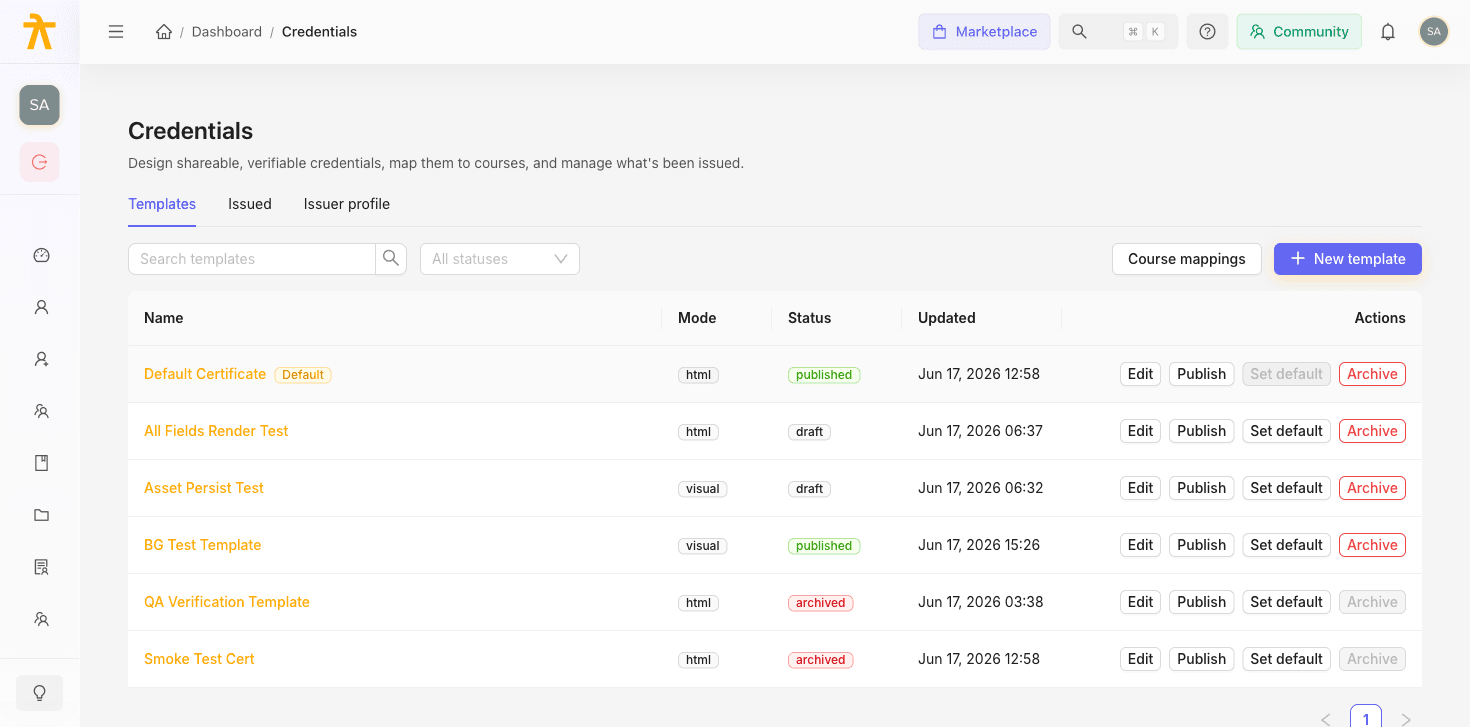
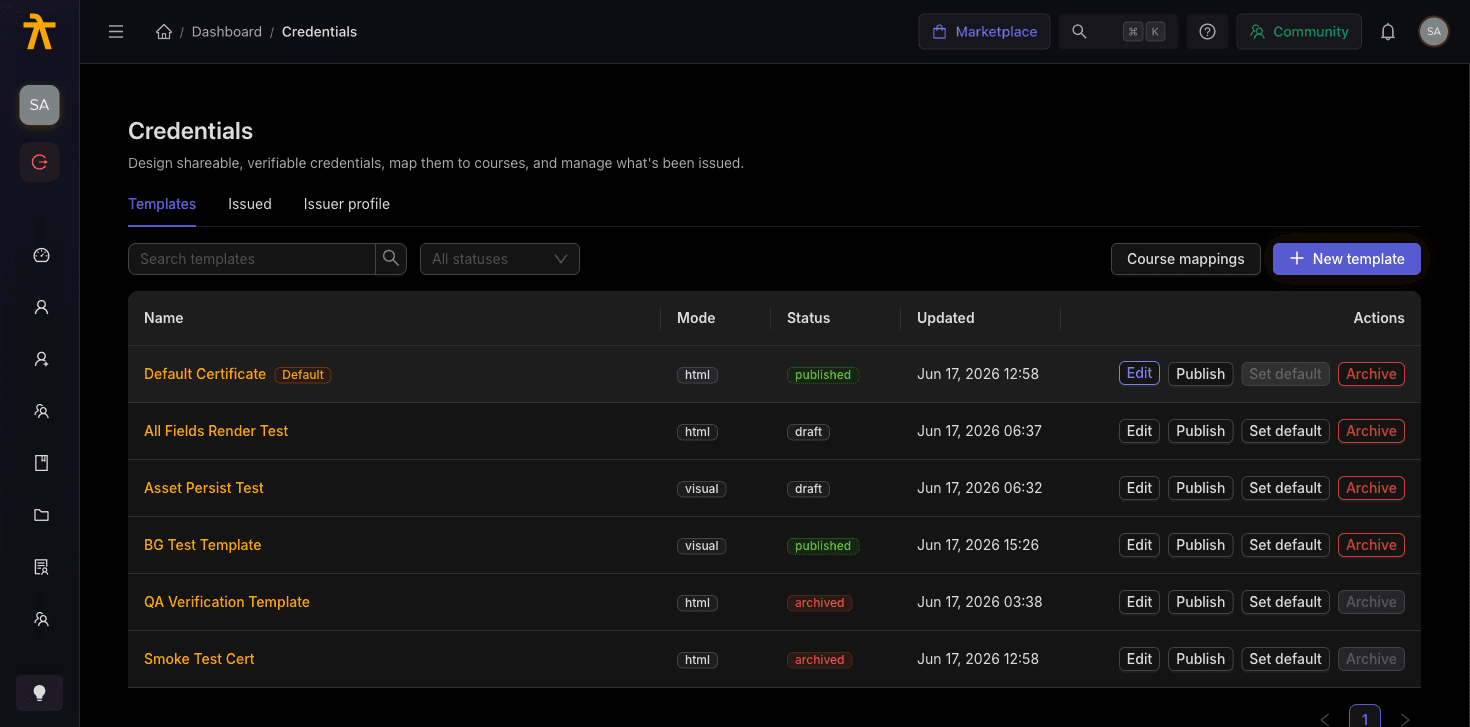
Credentials is a feature-flagged module. If the Templates tab shows "Credentials v2 is not enabled for this tenant yet," ask your Arythmatic contact to turn on the credentials feature flag. The first time you open Templates, the workspace seeds a working, published default certificate so you always have a starting point.
The Templates tab
The Templates tab lists every template in your workspace. Each row shows the template Name, its authoring Mode (Visual or HTML), its Status, and when it was last Updated. Use the search box and the status filter to narrow a long list.
From each row you can:
- Edit — open the template in the Credential Builder.
- Publish — snapshot the current draft as a new immutable version (see Versioning).
- Set default — make this the workspace-wide fallback template.
- Archive — retire a template so it can no longer issue credentials.
To create a new template, click New template, give it a name, pick an authoring mode, and choose Create & open builder.
The two builder modes
Every template is authored in one of two modes. You choose a mode when you create the template, and you can switch between them inside the builder using the Visual / HTML toggle in the top-right of the header.
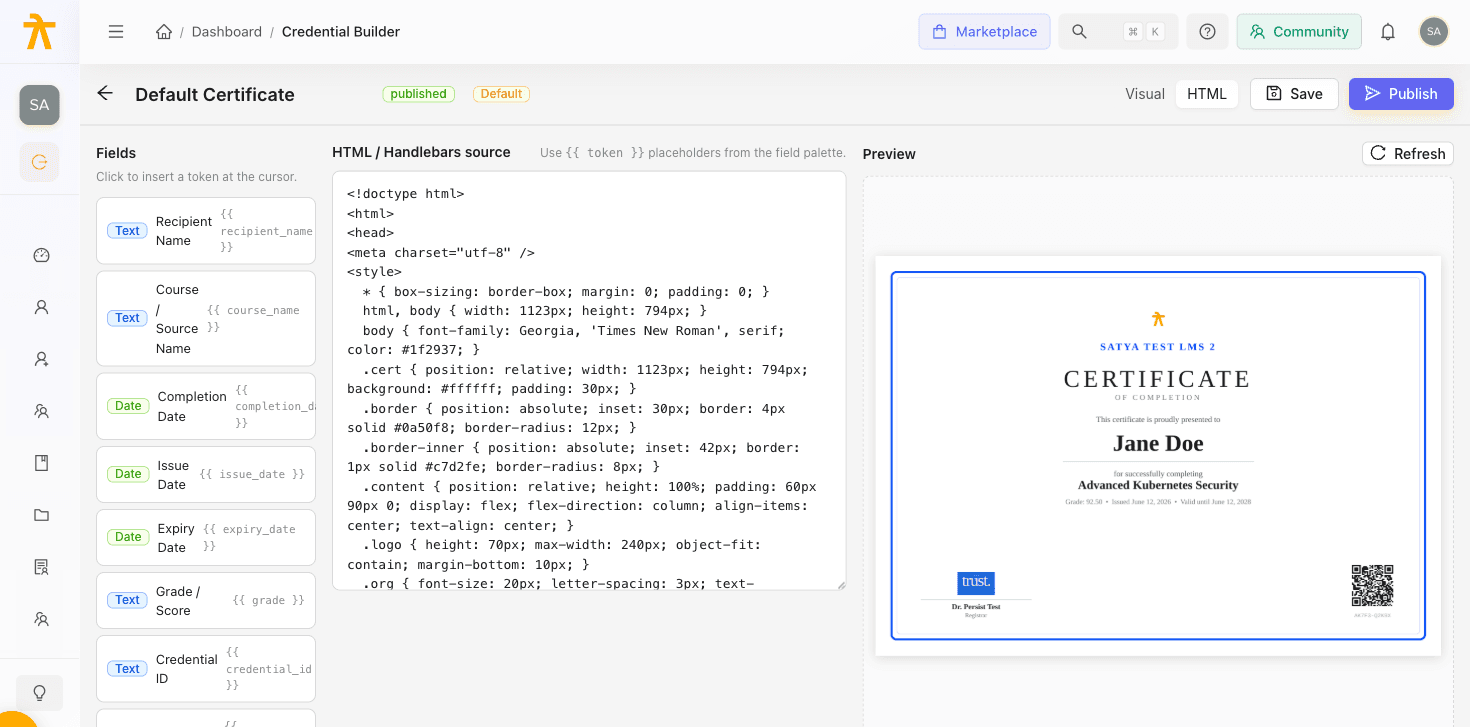
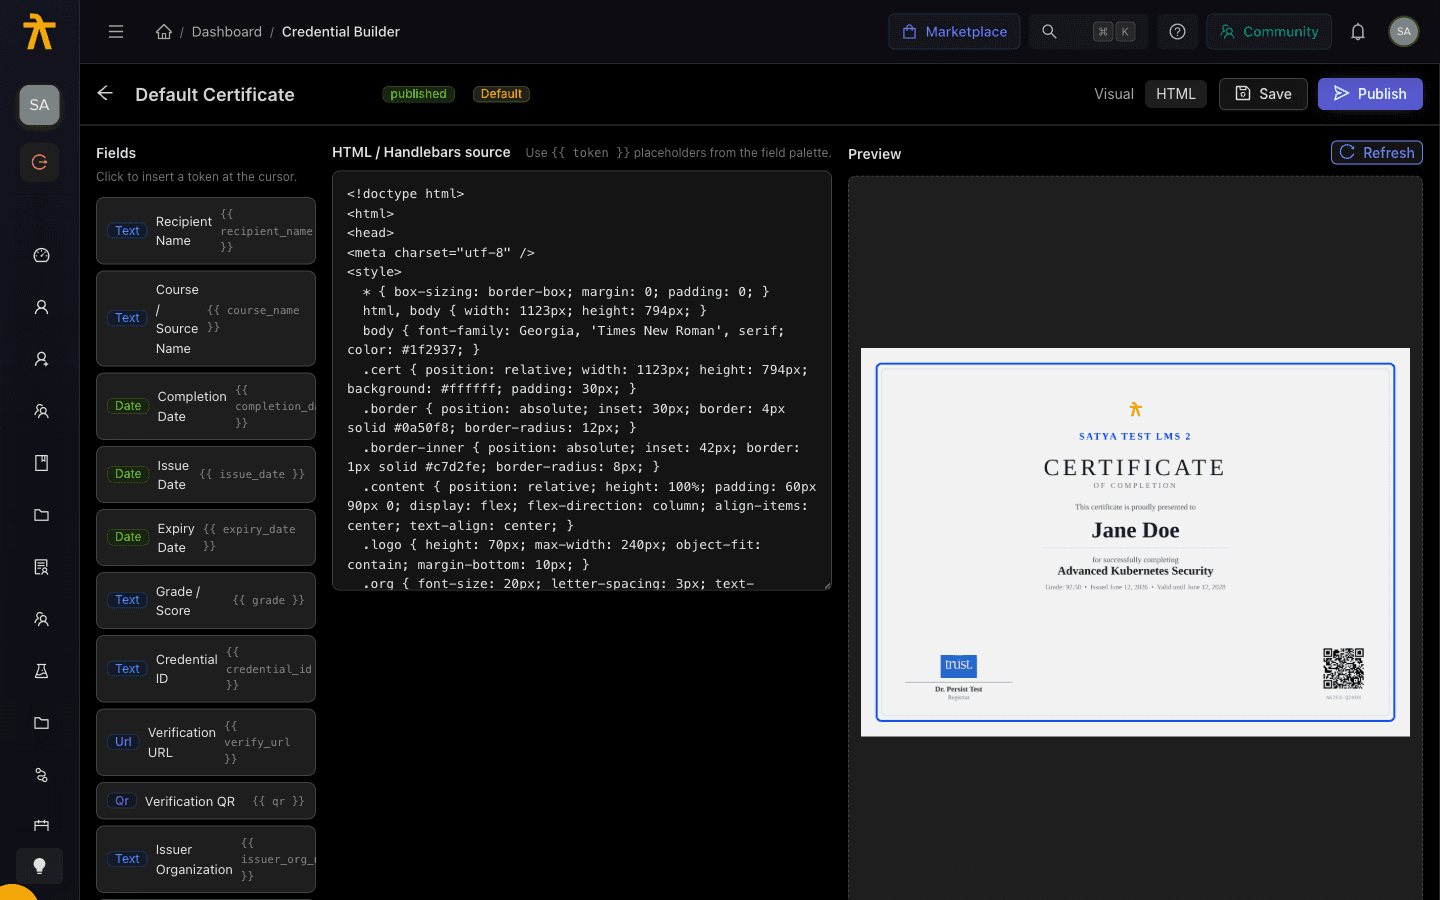
The builder is a three-column workspace: the field palette on the left, the editor (visual canvas or code) in the middle, and a live preview on the right. The preview renders your design through the same headless-Chromium engine used for real credentials, filled with sample data (a real sample QR code, and placeholder boxes for your logo and signature when none are set yet).
Visual overlay editor
The visual mode is a drag-and-place designer. You:
- Upload a background image (typically your certificate artwork) and set the canvas width and height in pixels — the default is 1123 × 794, roughly A4 landscape at 96 dpi.
- Click a field in the palette to drop it onto the canvas as a block, then position and style it over your background.
- Save, and the layout is compiled into the canonical HTML the renderer uses.
Visual mode is the fastest path for design-led certificates where you already have finished artwork and just need to overlay dynamic text and a QR code.
HTML code editor
The HTML mode gives you full control. You write the certificate as HTML with Handlebars-style {{ field }} tokens for the dynamic values. Selecting a field in the palette inserts its token at your cursor. Image-valued fields are inserted as <img> tags automatically — for example the QR field inserts <img src="{{ qr }}" …> rather than a bare token, so the image renders instead of printing the raw data string.
Use Visual for artwork-first designs and HTML when you need precise typography, multi-column layouts, or logic you can only express in markup. Both modes share the same Save and Publish flow and the same field tokens, so you can start visual and drop into HTML later.
Draft-versus-published versioning
This is the most important concept in the builder, because it is what keeps certificates you have already handed out stable.
- Editing a template edits its draft. Everything you change in the builder — the HTML, the field layout, the background, the dimensions — is saved to the template's working draft copy when you click Save. Saving does not affect any issued credential.
- Publish snapshots an immutable version. When you click Publish, the current draft is frozen into a new numbered template version (v1, v2, v3 …) with its own published-at timestamp and author. That version becomes the template's
current_versionand the template's status flips to Published. - New credentials use the current published version. Each credential is stamped with the exact version it was rendered from, and that link is protected — it never moves.
Editing and re-publishing a template does not change certificates that were already issued. A learner who earned a credential from v1 keeps the v1 design forever, even after you publish v2. If you need existing holders to get the new look, you must re-issue their credentials — an explicit admin action, not an automatic side effect of publishing.
Publishing from the builder always saves the draft first, then publishes, so what you see in the preview is exactly what gets snapshotted. You can also publish directly from the Templates tab row without opening the builder.
Statuses
A template is always in one of three statuses:
| Status | Meaning |
|---|---|
| Draft | Created but never published. It has no version yet, so it cannot issue credentials or be mapped to a course. |
| Published | Has at least one published version. It can issue credentials, be set as default, and be mapped to courses. |
| Archived | Retired. It can no longer be used to issue credentials, but its history and any credentials already issued from it remain intact. |
Set default
Exactly one template per workspace can be the default. It is the fallback used whenever a credential is issued for a course that has no specific mapping. Setting a template as default automatically clears the previous default and also records it as the issuer profile's default template.
The default is marked with a gold Default tag in both the Templates list and the builder header.
You cannot archive the default template. Set another template as default first, then archive the old one — otherwise Archive returns a "Cannot archive the default" error.
Archive
Archive retires a template. From the Templates tab, click Archive, confirm, and the template moves to Archived status. Archived templates drop out of the pool that can issue credentials and can no longer be mapped to courses. Archiving is safe for history: it never touches credentials that were already issued.
Course mappings
By default every course issues credentials from the workspace default template. Course mappings let you override that per course — for example, a compliance course that needs a distinct, regulator-approved certificate.
Open Course mappings from the Templates tab toolbar, then:
- Search and select a Course.
- Choose a published template (only published templates appear — an unpublished template would silently fail to issue).
- Save mapping. Credentials for that course now use the mapped template.
- To revert, use Clear (use default) — the course falls back to the workspace default.
How Arythmatic resolves which template to use
When a credential is issued, the template is chosen in this order:
- An explicitly supplied template (used by some manual-issue flows).
- The course's course mapping, if one exists (course-sourced credentials only).
- The issuer profile's default template.
- Any template flagged is_default for the workspace.
- A seeded starter template, if the workspace somehow has none.
The first match wins. In every case the resolved template must have a published version — issuing from a draft-only template raises an error rather than producing a blank certificate.
Related
Credentials
Design certificate templates, auto-issue credentials when learners complete courses, and let recipients publicly verify and share them.
Issuing Certificates
How Arythmatic decides when a certificate is earned, which template design a learner receives, and how admins issue or force-issue credentials manually or in bulk.
