

Users
Search, filter, and manage every person in your workspace from the Users list.
Users
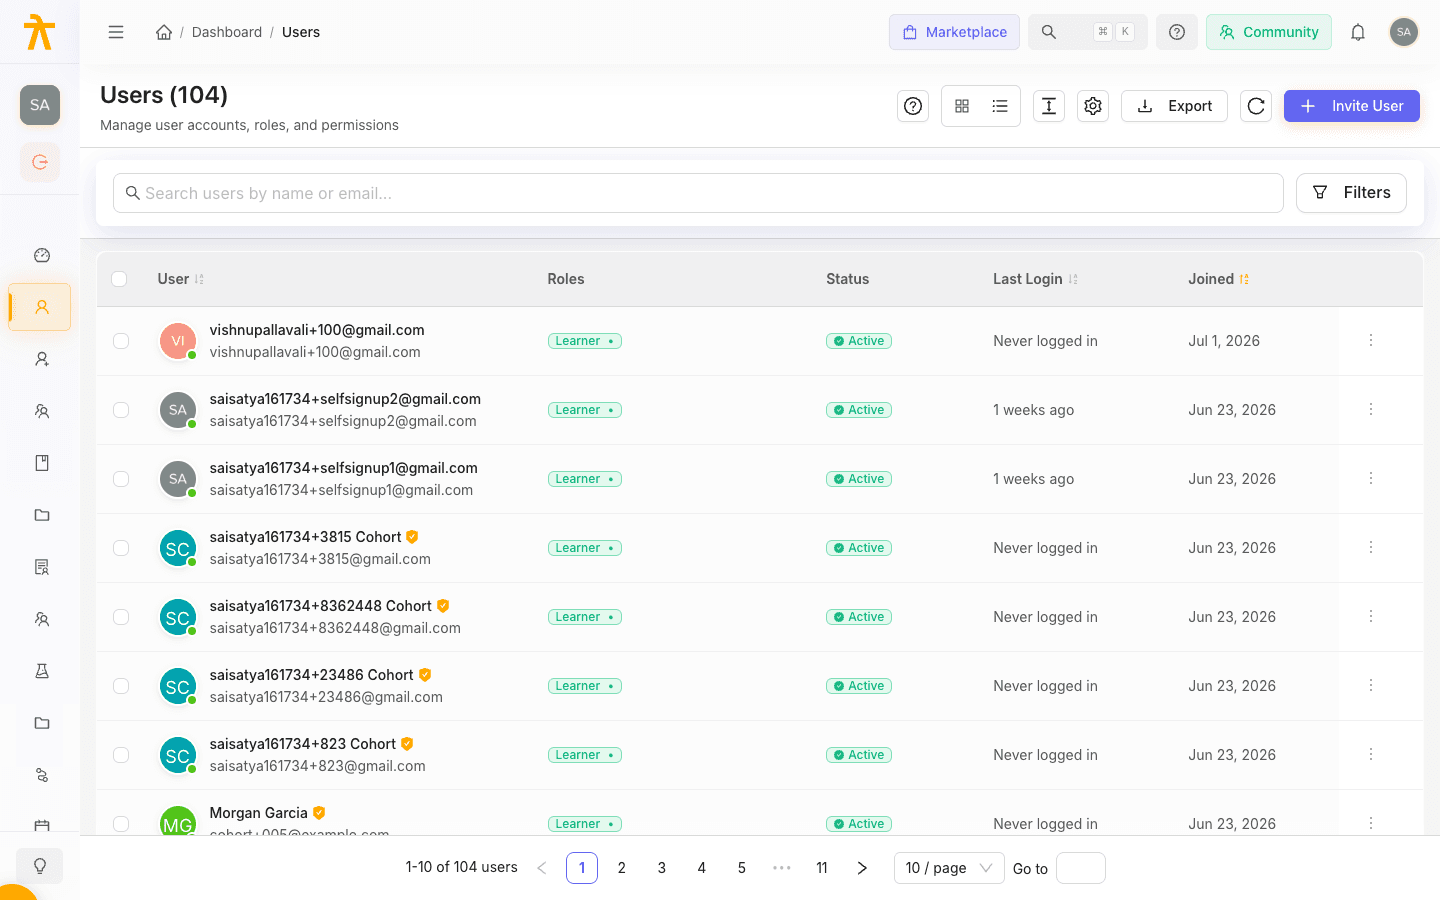
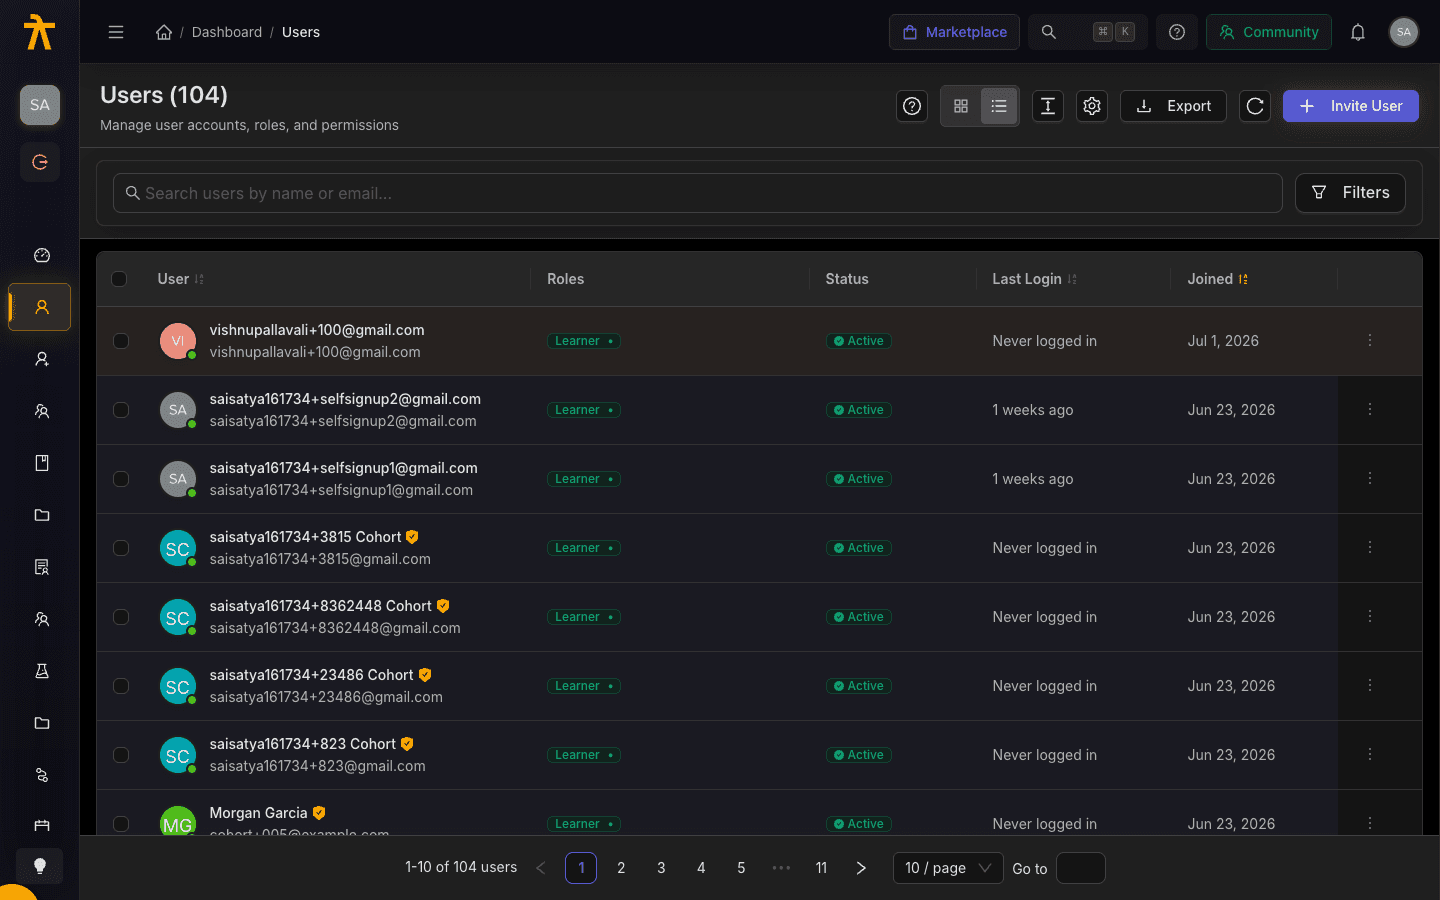
The Users page is the directory of everyone in your workspace — learners, instructors, and admins alike. From here you can search and filter to find any account, review its role and status at a glance, open a user for a closer look, act on many people at once, and export the list for reporting. The page title shows the total count, for example Users (248).
Finding people
The search box at the top of the list matches on name or email as you type. For narrower results, click Filters to open the filter panel, where you can combine:
| Filter | Options |
|---|---|
| Status | All Status, Active, Inactive |
| Verification | All Users, Verified, Unverified |
| Role | All Roles, or any role defined in your workspace |
Each active filter appears as a removable chip below the bar, and a badge on the Filters button shows how many are applied. Click a chip's close icon to drop just that filter, or Clear all to reset everything at once.
Combine a role filter with Inactive status to quickly audit accounts that were provisioned but never activated.
Reading the list
In the default table view, each row represents one user with these columns:
| Column | Shows |
|---|---|
| User | Name and email |
| Roles | Every role assigned to the account |
| Status | Active or Inactive |
| Last Login | Most recent sign-in date |
| Joined | The date the account was created |
Click any User, Last Login, or Joined column header to sort by it, and click again to reverse the order. Selecting a row opens that person's full profile — see User detail.
Adjusting the view
The toolbar gives you a few ways to tailor the list:
- Use the view toggle to switch between the table and a card grid.
- Open the density menu to choose Compact, Default, or Comfortable row spacing.
- Open the columns menu to show or hide any optional column, or Reset to defaults.
- Click Refresh to reload the latest data.
Column and density choices are remembered for next time.
Bulk actions
Tick the checkbox on one or more rows and a bulk action bar appears at the bottom of the page with the number selected. From there you can:
- Activate — restore platform access to the selected accounts.
- Deactivate — remove access while preserving each user's data and enrollments.
- Delete — permanently remove the selected accounts.
Deactivate and Delete ask you to confirm first, and both show how many users are affected.
Delete cannot be undone — the selected users are permanently removed from the platform. Prefer Deactivate when you only need to revoke access.
Adding people
Click Invite User to open the invitations page, where new accounts are provisioned through an emailed invite and verification rather than created directly. For the full walkthrough, see Inviting users.
Exporting the list
Click Export to download a CSV of the users that match your current search and filters. The file includes each person's name, first and last name, email, roles, status, verification, last login, and join date, and is named with today's date. Clear your filters first if you want to export everyone.
Related
Users & Groups
Manage the people in your workspace — user accounts, roles, and the groups and schools that organize learners for bulk enrollment and reporting.
User Detail & Management
Open a single learner's profile to review their courses, learning paths, certificates, memberships, and payments, then assign roles, edit details, or activate and deactivate the account.
