

Roles
View built-in roles and create, edit, or delete custom roles with their own permission set on the Roles page.
Roles
The Roles page is where you manage the roles available in your workspace. Built-in roles ship protected and ready to use, while custom roles let you tailor a specific permission set to how your team works. This page covers viewing roles and creating or editing custom ones. For the underlying permission model and the built-in roles themselves, see Roles & permissions.
Viewing roles
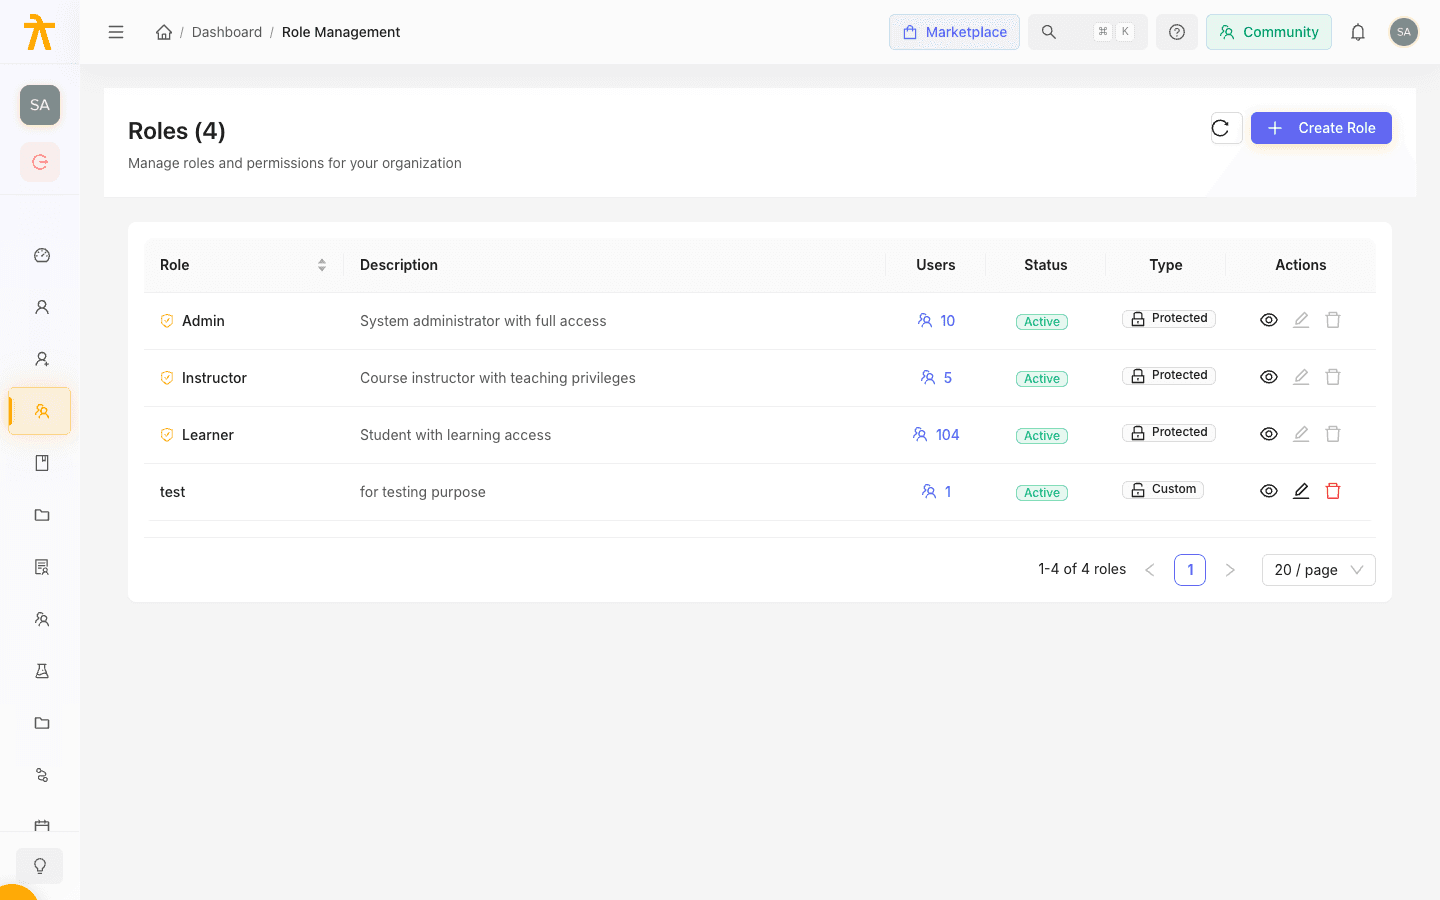
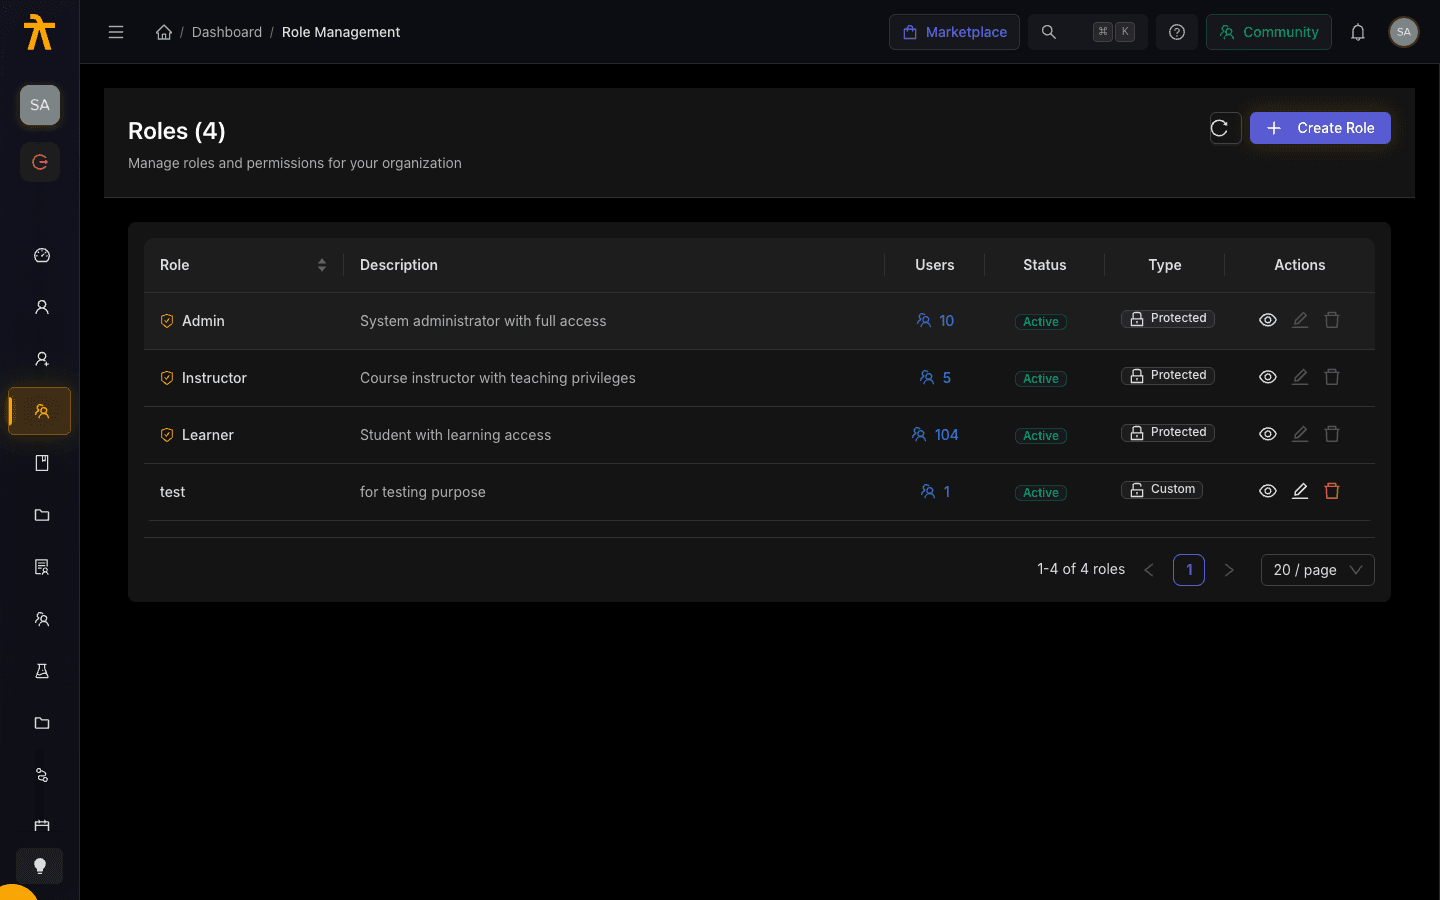
The page header shows Roles with a running total, alongside a Refresh button and a Create Role button. Each role appears as a row in the table.
| Column | What it shows |
|---|---|
| Role | The role name. Built-in roles carry a certificate icon marking them as protected. |
| Description | The role's purpose, or a dash when none is set. |
| Users | How many users currently hold the role. Click the count to open the usage summary. |
| Status | An Active or Inactive tag. For custom roles, click the tag to toggle status. |
| Type | A Protected badge for built-in roles or a Custom badge for roles you created. |
| Actions | View usage, edit, or delete the role. |
Protected roles cannot be edited, deactivated, or deleted, so their edit and delete controls stay disabled. The built-in Admin, Instructor, and Learner roles are always protected, and workspaces provisioned with the elevated System Admin and Owner roles carry those as protected too. See Roles & permissions for the full list of built-in roles.
Checking role usage
Click a role's Users count or the view (eye) action to open the usage summary. It shows the Total Users holding the role and a preview list of those users with their names and emails. When there are more users than fit in the preview, a "Showing X of Y" note appears.
Review usage before you deactivate or delete a role so you know who will be affected.
Creating a custom role
- Click Create Role in the page header.
- Under Basic Information, enter a Role Name (required, up to 50 characters).
- Optionally add a Description (up to 255 characters) explaining the role's purpose.
- Leave Active checked so the role can be assigned. Inactive roles cannot be assigned to users.
- Under Permissions, select the capabilities this role should grant.
- Click Create Role to save.
Available permissions
Each permission is an on/off capability you grant to the role:
| Permission | Grants the ability to |
|---|---|
| Manage Users | Create, edit, and delete users. |
| Manage Courses | Create, edit, and delete courses. |
| Manage Enrollments | Enroll and unenroll users. |
| Manage Content | Upload and manage content. |
| View Reports | Access analytics and reports. |
| Manage Settings | Configure system settings. |
| Can Enroll | Self-enroll in courses. |
| View Courses | Browse the course catalog. |
Editing a custom role
Click the edit action on any custom role to reopen the form with its current name, description, status, and permissions. Adjust the fields and click Update Role to save. The edit action is unavailable for protected roles.
You can also flip a custom role's status directly from the table by clicking its Active or Inactive tag, without opening the form.
Deleting a custom role
- Click the delete action on the custom role.
- Confirm in the dialog. Users who are left with no other role are assigned the Learner role; users who still hold another role simply lose this one and keep the rest.
Deletion applies only to custom roles. Anyone left without a role falls back to Learner, which changes what they can access, so confirm the role is no longer needed first.
Related
User Detail & Management
Open a single learner's profile to review their courses, learning paths, certificates, memberships, and payments, then assign roles, edit details, or activate and deactivate the account.
Groups
Create reusable bundles of learners to control who can access private courses, enroll in bulk, and report — and see how a Group and a School are two views of one entity, distinct only from a Batch.
