

Email Suppressions
Manage the per-tenant suppression list that blocks emails to unsubscribed, bounced, or complaining recipients to protect your sender reputation.
Email Suppressions
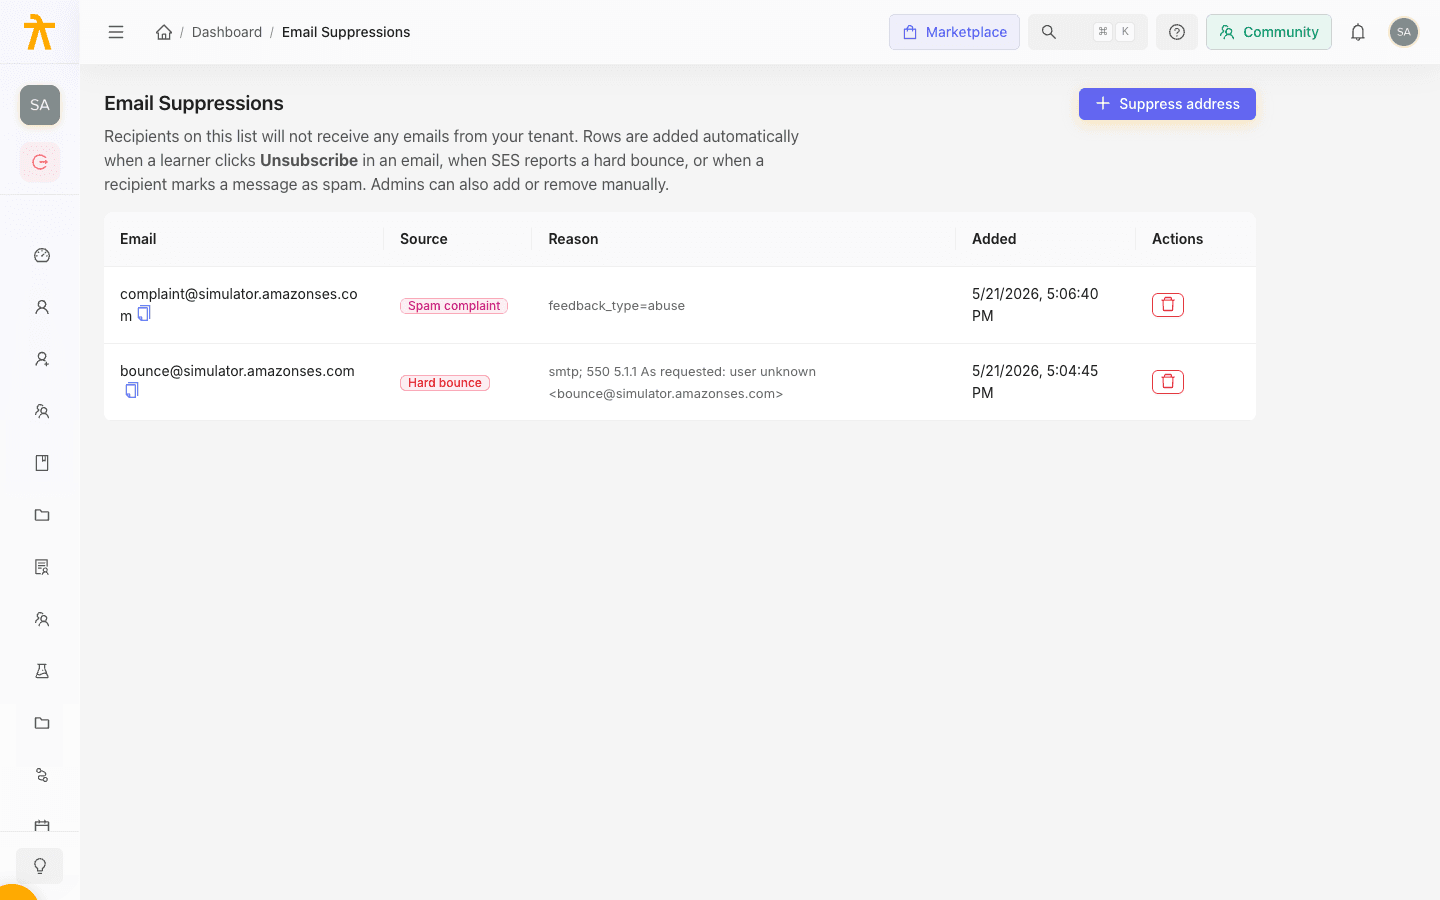
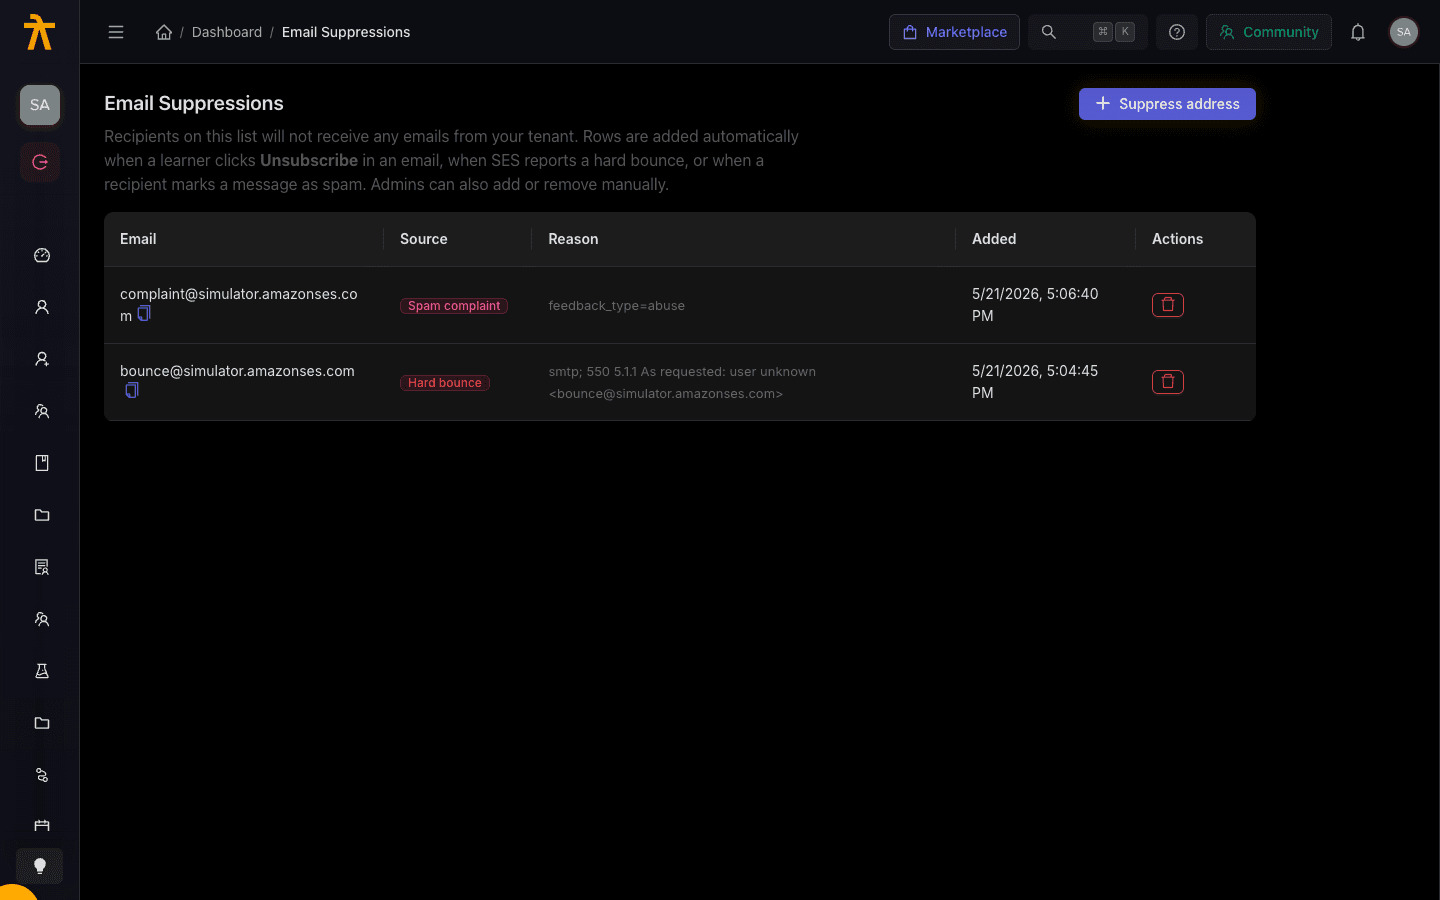
The Email Suppressions list is your tenant's do-not-email register. Any address on it is skipped for every email your workspace sends — not just campaigns — which keeps your sender reputation healthy and keeps you compliant with unsubscribe expectations. Rows land on the list automatically when a learner unsubscribes, when an address hard-bounces, or when someone marks a message as spam — and admins can add or remove entries by hand. You'll find the page under the Automation menu, alongside Workflows and scheduled campaigns.
Suppression blocks all mail to an address, including account-critical transactional email — password resets, invites, enrollment confirmations, and certificate or credential notices — not only workflows and scheduled campaigns. Every send funnels through the same dispatch step, which drops any recipient on the suppression list before it hands off to the mail provider (the send is logged as failed with Suppressed (recipient unsubscribed)). So if a learner reports they never got their password reset or invite, check the suppression list first: a past hard bounce, spam complaint, unsubscribe, or manual entry silently cuts off every future email to that address until you remove it.
Why suppression protects deliverability
Mailbox providers watch how recipients react to your mail. Repeatedly sending to addresses that bounce, or to people who mark you as spam, drags down your sender reputation and can push your legitimate email into junk folders — for every learner, not just the problem address. The suppression list is the safeguard: once an address is on it, your tenant stops sending to it entirely, so a single bad address can't erode delivery for everyone else.
An empty suppression list is a good sign. It means no learner has unsubscribed and no address has bounced, so your sender reputation is intact. The list only grows when something needs blocking.
How addresses get added
Every row carries a Source tag so you can see why the address was suppressed. There are four sources:
| Source tag | Meaning | How it happens |
|---|---|---|
| User unsubscribed | The recipient opted out | A learner clicked Unsubscribe in one of your emails |
| Hard bounce | The address is undeliverable | The mail provider reported a permanent delivery failure |
| Spam complaint | The recipient flagged the mail | The recipient marked a message as spam |
| Admin | Added by hand | An admin suppressed the address from this page |
The first three are added automatically — you don't need to do anything. Unsubscribes and spam complaints come straight from recipient actions, and hard bounces are reported back by the mail provider. Manual entries are always tagged Admin.
Reading the list
The table shows one row per suppressed address:
- Email — the suppressed address (click to copy it).
- Source — the color-coded tag explaining why it was suppressed.
- Reason — an optional free-text note; automatic rows may show a dash.
- Added — the date and time the address joined the list.
Suppress an address manually
Use this when you already know an address should never receive mail — for example, a shared inbox that shouldn't be emailed, or a request to stop contacting someone.
- Click Suppress address in the top-right corner.
- Enter the Email address you want to block.
- Optionally add a Reason — an internal note explaining why the address is being suppressed.
- Click OK to save.
The address appears in the list immediately and is tagged Admin.
Manually added rows are always recorded with the Admin source no matter what you type in the reason field. The reason is a free-text note for your own future reference — it does not change how the entry is treated.
Remove an address (resubscribe)
If an address was suppressed by mistake, or a learner asks to start receiving email again, you can take it off the list:
- Find the address in the table.
- Click the delete (trash) button in its Actions column.
- Confirm by clicking Resubscribe in the prompt.
Once removed, the address can receive email from your tenant again and will be included in future sends.
Only resubscribe an address when you're confident the recipient wants email again. Removing a Hard bounce entry and continuing to send to an undeliverable address, or re-emailing someone who filed a Spam complaint, can damage your sender reputation.
Who can manage suppressions
Because the suppression list controls whether your tenant emails a recipient at all, access is limited to admin-level roles. If you can't see the Email Suppressions page under Automation, or the Suppress address and delete controls are missing, check your role. See Roles and Permissions for how access is assigned.
