

Email Sending Setup
Connect your own email provider and verify a sender identity so transactional and campaign email is delivered from your domain.
Email Sending Setup
Every email your workspace sends — enrollment confirmations, password resets, scheduled campaigns — needs a sending provider and a verified sender identity. Until you configure your own, Arythmatic delivers on your behalf from a shared platform sender, which is fine for testing but shares deliverability reputation with every other tenant. This page walks you through adding a provider (AWS SES, SendGrid, or Custom SMTP), verifying it, and promoting it to your default sender.
Before you start
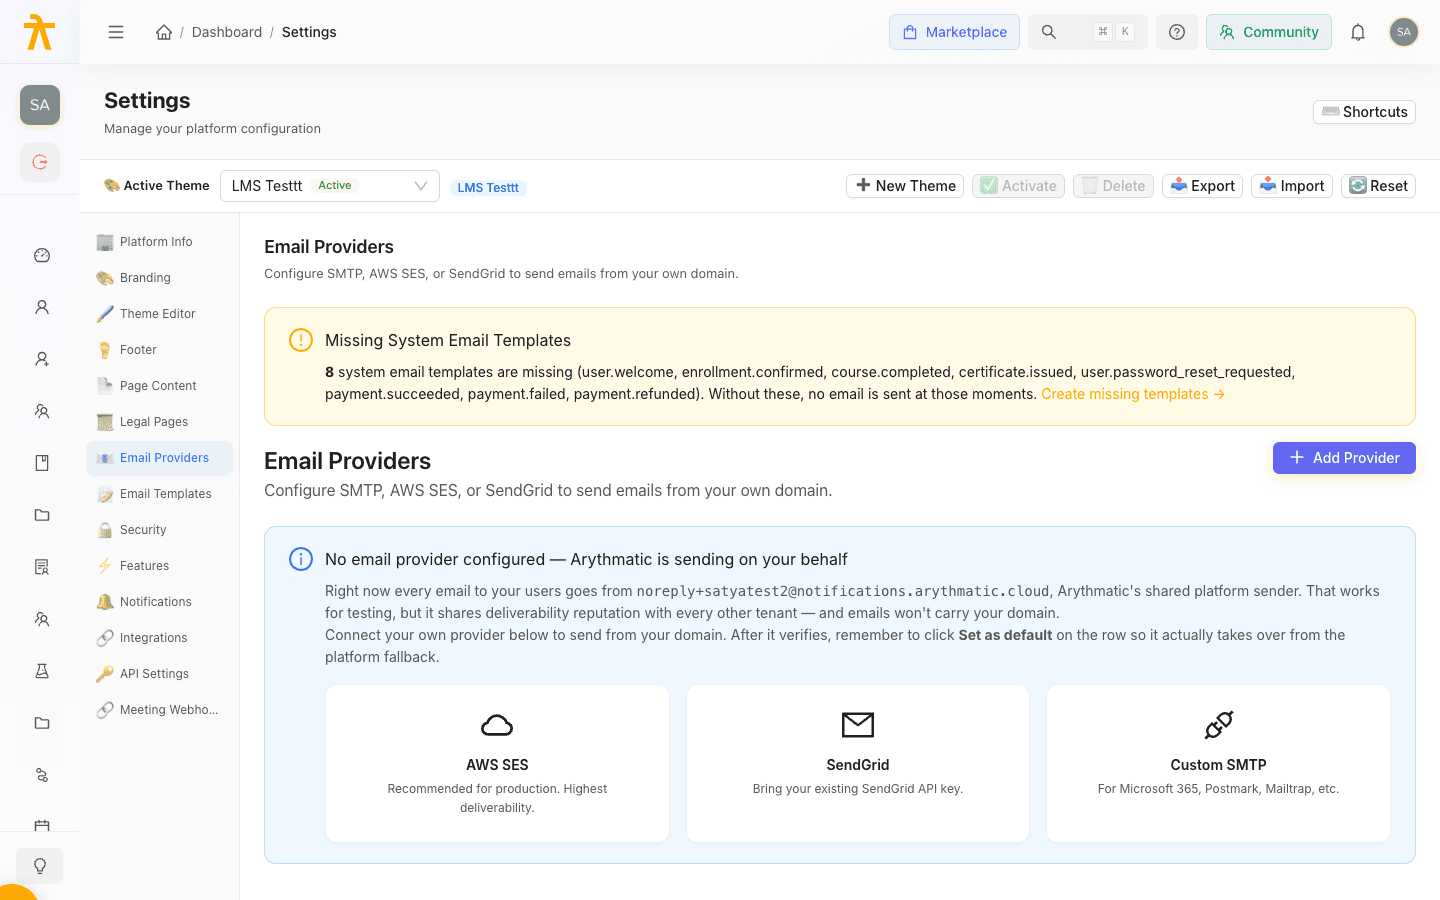
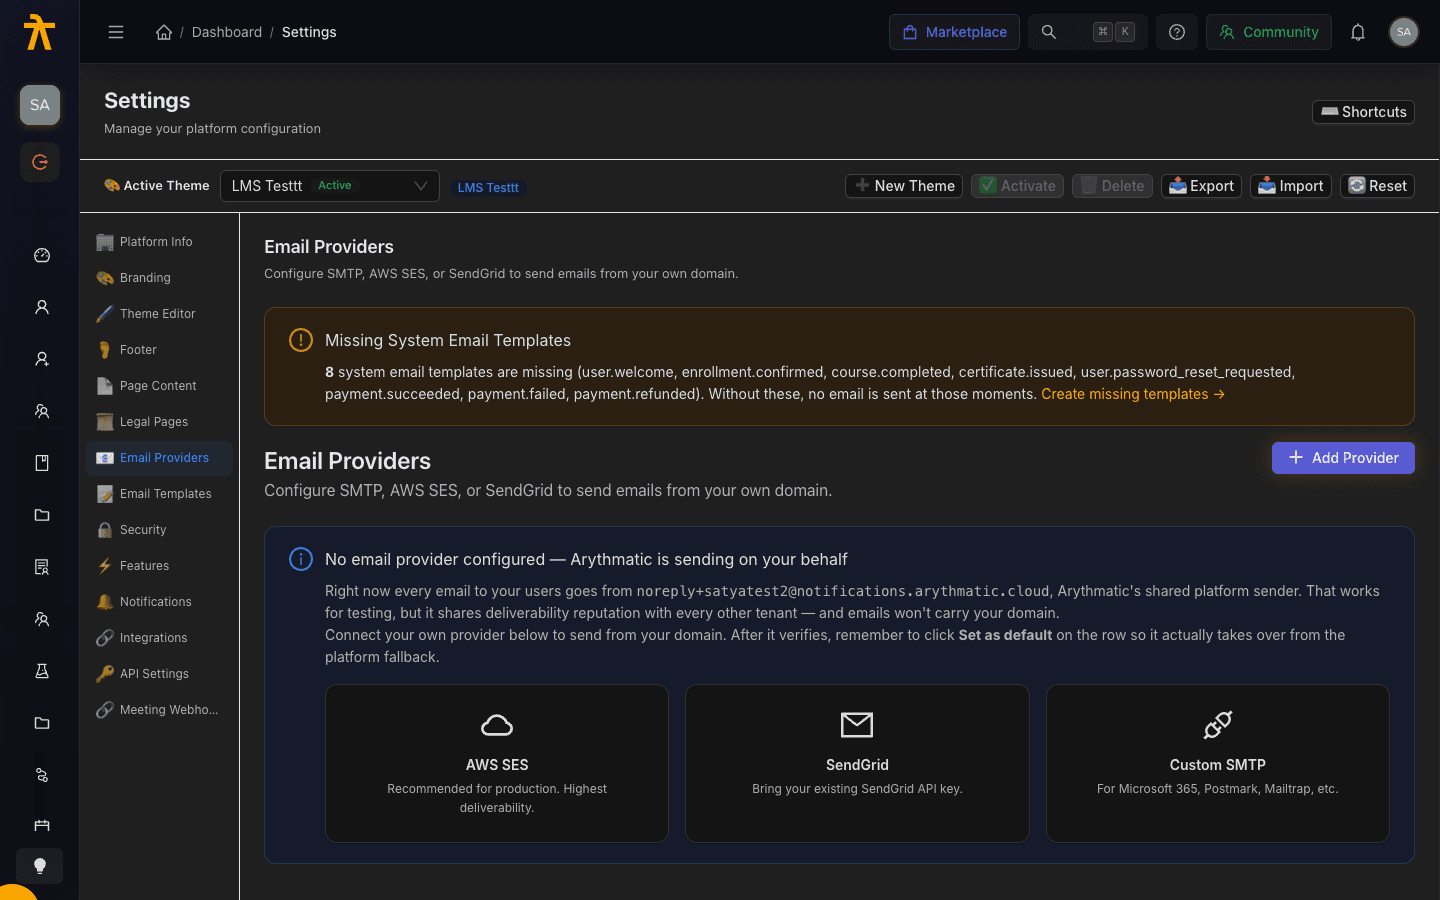
Open Settings → Email Providers. If no provider is configured, you'll see a notice that Arythmatic is sending emails on your behalf — your mail goes out from noreply+<your-slug>@notifications.arythmatic.cloud. Adding and defaulting your own provider replaces that shared sender.
Configuring a provider is not enough on its own. Emails only switch to your domain once a provider is both verified and marked as the default. If you skip the last step, mail keeps going through the platform fallback.
Step 1 — Add a provider
- Click Add Provider (or pick a card from the empty-state: AWS SES, SendGrid, or Custom SMTP).
- Choose the Provider Type. For SES, also pick a Verification Mode (see Step 2).
- Fill in the common fields, then the provider-specific credentials.
| Field | Applies to | Notes |
|---|---|---|
| Name | All | A label for the row, e.g. Acme SMTP. |
| From Email | All | The address recipients see, e.g. no-reply@acme.com. |
| Reply-To Email | All | Optional address for replies. |
| Postal Address (compliance footer) | All | Rendered in the footer of every email. Required by CAN-SPAM and Gmail's bulk-sender rules. Leave blank to use the platform default. |
| Rate Limit (per second) / Daily Limit | All | Throttles sending to stay within your provider's quota. |
Provider credentials
| Provider | Required fields |
|---|---|
| Custom SMTP | Host, Port, Encryption (STARTTLS / TLS / None), Username, Password. Use this for Microsoft 365, Postmark, Mailtrap, and similar. |
| SendGrid | API Key (SG.xxx). |
| AWS SES | AWS Access Key ID (AKIA…), AWS Secret Access Key, Region, plus From Domain when using domain verification. |
For SES, the modal includes a How do I get my AWS Access Key ID and Secret Key? guide with a copyable least-privilege IAM policy. Create a dedicated IAM user (for example arythmatic-ses-sender), attach the policy, and generate an access key for Application running outside AWS. Make sure the Region matches where your SES identity lives, and remember that brand-new SES accounts start in the sandbox and can only send to verified addresses until you request production access.
Step 2 — Verify the sender identity
New providers begin verification automatically after you save. Open a provider's row with the eye / Verify action to see its status and next steps.
- AWS SES — Verify a single email address (email identity): fastest option. AWS emails your From Email a click-link; open it and confirm. This is best for quick setup and testing.
- AWS SES — Verify a whole domain (domain DKIM): recommended for production. The drawer shows 3 CNAME records to add to your DNS. Copy each Name and Value into your DNS provider, then click Re-check now. Domain checks can take longer to propagate.
- SendGrid / SMTP: verification confirms your credentials and connection.
While a provider is Pending, the page polls for updates and shows Re-check now and Cancel verification actions. If verification fails, the drawer shows the error and a Retry verification button.
Editing the credentials of an already-verified provider requires re-running verification. The provider stays in the verified state until you do, but mail can fail if the new credentials are wrong.
Step 3 — Set as default
Once a provider shows Verified (and its circuit is closed), a Set as default button appears on its row. Click it. The Default tag moves to that provider and your workspace immediately begins sending from your From Email instead of the shared platform sender.
Step 4 — Send a test
Open the verified provider's detail drawer, find Test Send, enter an address, and click Send Test. A success toast returns the provider's message ID, confirming end-to-end delivery through your own credentials.
Bounce and complaint tracking (SES)
For verified SES providers, the drawer offers Enable bounce + complaint tracking. Arythmatic provisions an SNS topic and an SES configuration set in your AWS account using your stored credentials, so hard bounces and spam complaints flow automatically into your Email Suppressions list. If AWS reports missing IAM permissions, the page shows exactly which actions to add plus a copyable policy. After enabling, the status may read Pending confirmation for a few seconds until AWS confirms the subscription.
If a provider's bounce rate gets too high, its circuit opens and mail temporarily routes through the platform fallback. Resolve the underlying issue, then use Close Circuit in the detail drawer to resume sending from your provider.
Keep your templates complete
The page also warns when system email templates are missing — without them, no email is sent at those moments. Follow the Create missing templates link to fill the gaps in Email Templates.
